Hocus Pocus Brownies
This post may contain affiliate links – please read my disclosure statement.
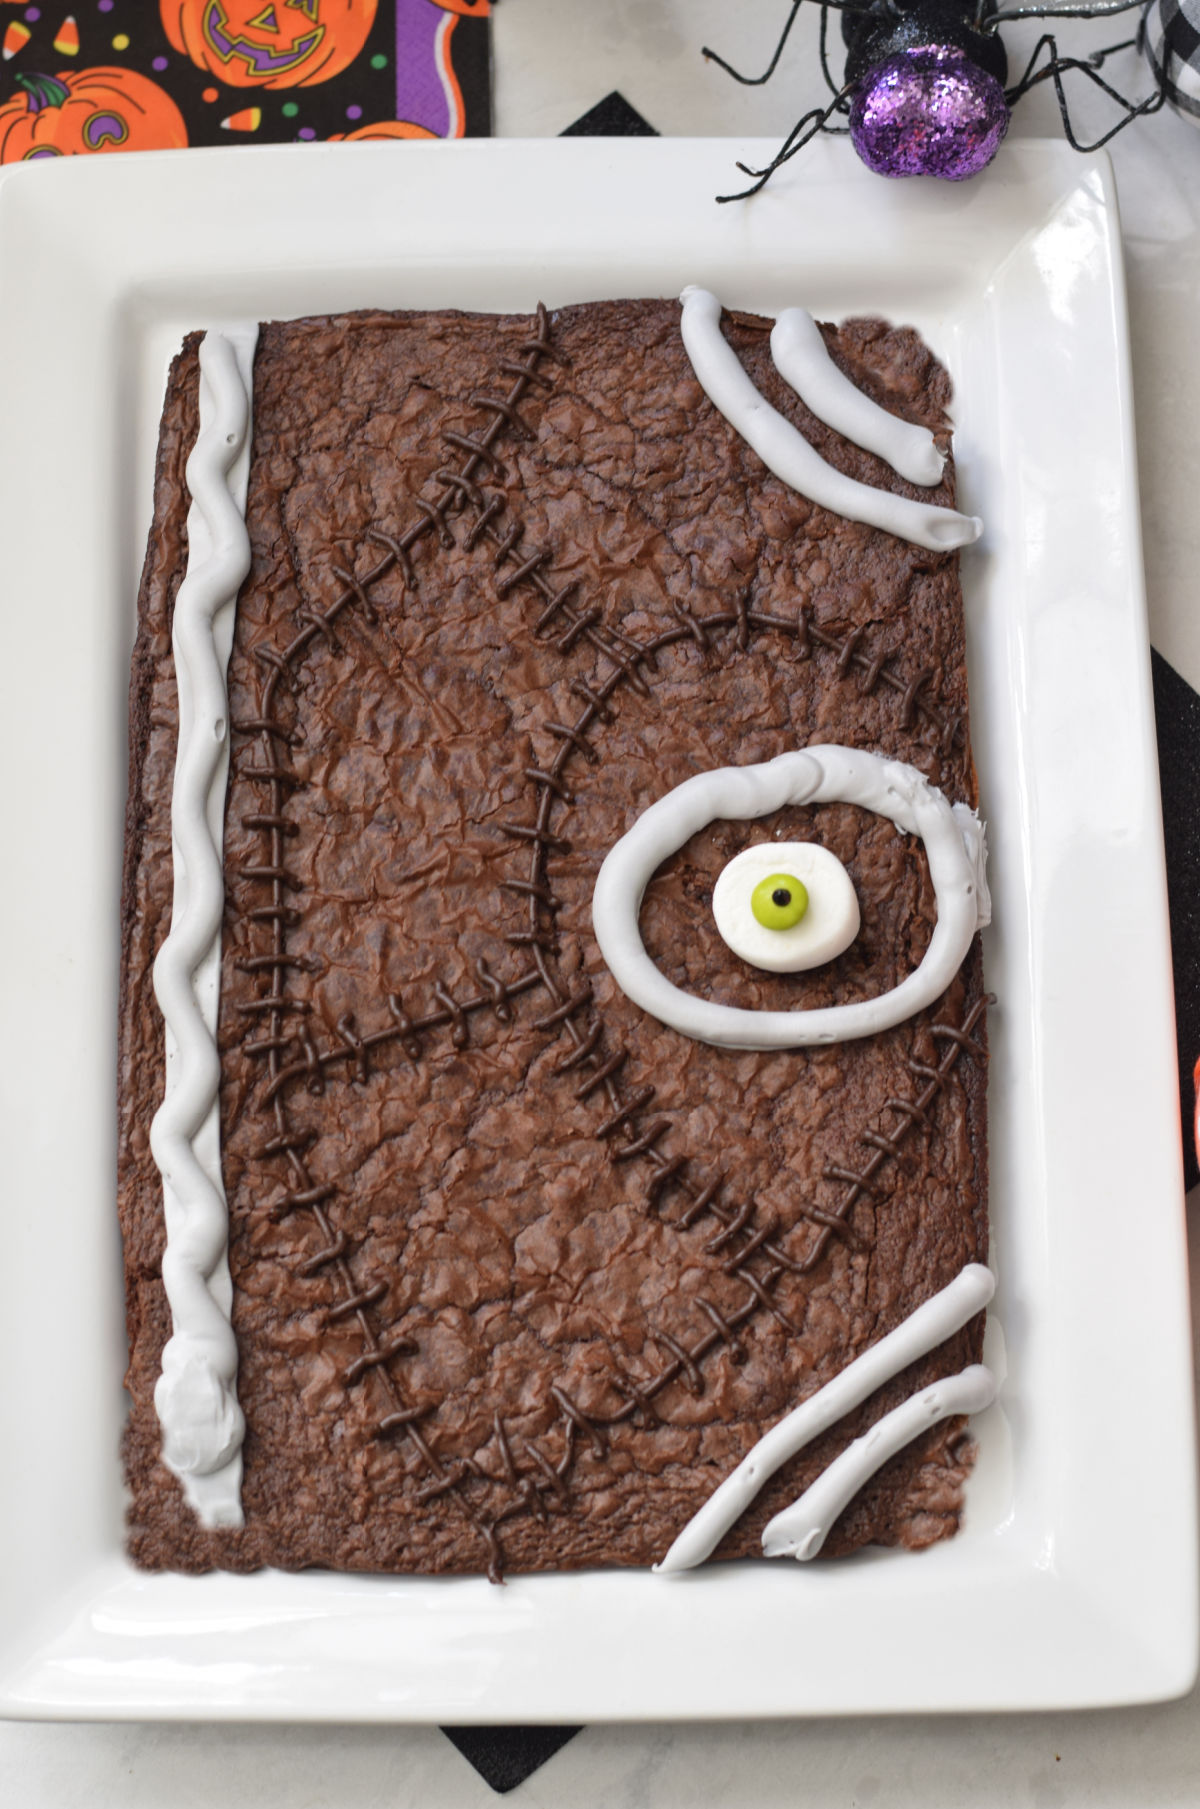
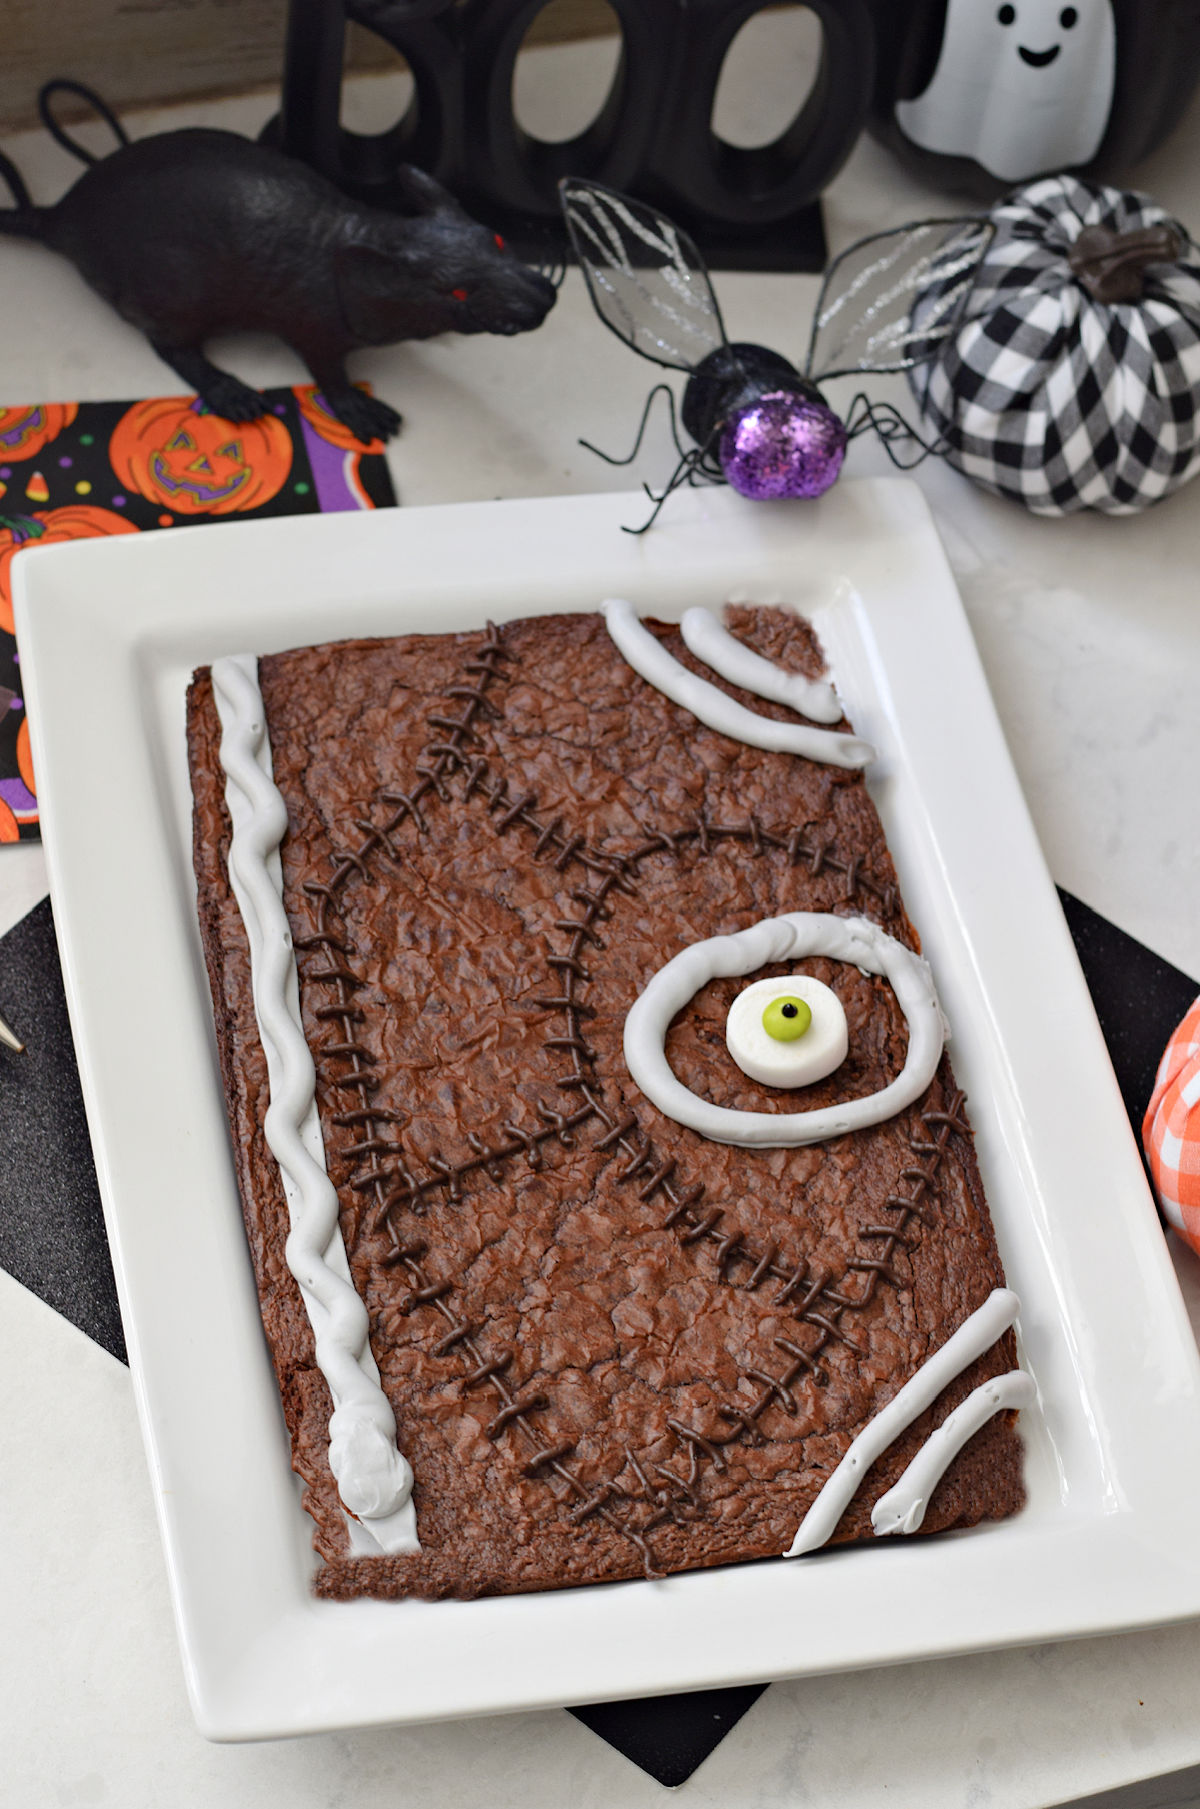
This large Spell Book Brownie From Hocus Pocus is perfect for a fun Halloween Treat. Easy to make, delicious, and perfect for your Halloween Party.
Hocus Pocus Book Brownies
I love all of the little Hocus Pocus brownies floating around the web. I thought I might make some of them this year in honor of one of our favorite Halloween Moves. Then, I started to think that it might be more fun, and less time-consuming to decorate one whole batch of brownies as one lifesize Hocus Pocus Spellbook Brownie.
You can decorate one brownie and then cut it into several. How easy is that?
If you are looking for Halloween Treats to go along with your Hocus Pocus theme then you might like my ideas for Rice Krispies Ghosts, Witch Hat Cupcakes, or Witch Hat Oreo Cookie Treats
Table of contents
- Hocus Pocus Book Brownies
- What I love about his Hocus Pocus Book Brownie
- Ingredients You’ll Need
- Equipment You’ll Need
- How to Make a Spellbook Brownie from the movie Hocus Pocus
- Expert Tips
- Recipe Variations
- What to Serve with your Book Brownie – Hocus Pocus
- Make Ahead and Storage
- More Hocus Pocus-Themed Treats You’ll Enjoy
- Serving Size
- Follow along with me on Social Media
- My top Amazon Links for this Halloween Fun Treat
What I love about his Hocus Pocus Book Brownie
- You don’t have to decorate 24 little brownies, just one and the impact is still amazing! The kids absolutely go crazy over this fun brownie treat for Halloween
- It is a fun and easy treat for Halloween
- This book brownie is perfect for Hocus Pocus Fans
Ingredients You’ll Need
- Brownie Mix – Specifically I bought a Betty Crocker Original Brownie Mix
- Oil – I basically used the amount that the back of the box
- Water – Again, I used the amount the back of the box suggested
- Egg – Use a large egg
- Chocolate Syrup – this packet came with my brownie mix. If you do not have one then don’t worry about it
- Frosting – You’ll need white frosting, but the flavor is up to you. You can use vanilla or cream cheese flavor
- Black Writing Gel – This is easy to find in most baking aisles, especially around Halloween. It will be used to mix with the white frosting to make the silver color that the book in the movie actually has, not the black color that most bloggers are using
- Powdered Sugar – You’ll want this to mix with the frosting to thicken it up. It will set up faster and will stay in place better when it is thick
- Marshmallow – I went back and forth with how to make a good eye for the book. I almost went with a giant-sized marshmallow, but ultimately, In the end, I used a regular-sized marshmallow
- Green M&M – I used a Halloween Green M&M which you can find in Halloween M&M mixes
- Chocolate Frosting – You’ll want this to make the stitches in the book
Equipment You’ll Need
I will leave some links to Amazon to share my top picks for the equipment you’ll need
- You’ll need a few different tips to pipe the frosting with. The book in the movie has a flat line and for that you’ll want a flat tip like a basketweave tip. You’ll also want a playing piping tip that is a large round tip to make the snake, the corner decorations, and the circle around the eye. Finally, you’ll want a small round tip called a writing tip for the stitches
- This brownie should be baked in a 9×13 inch pan or similar size baking dish
- You’ll also need mixing bowls, and utensils for measuring and mixing
How to Make a Spellbook Brownie from the movie Hocus Pocus
Step One
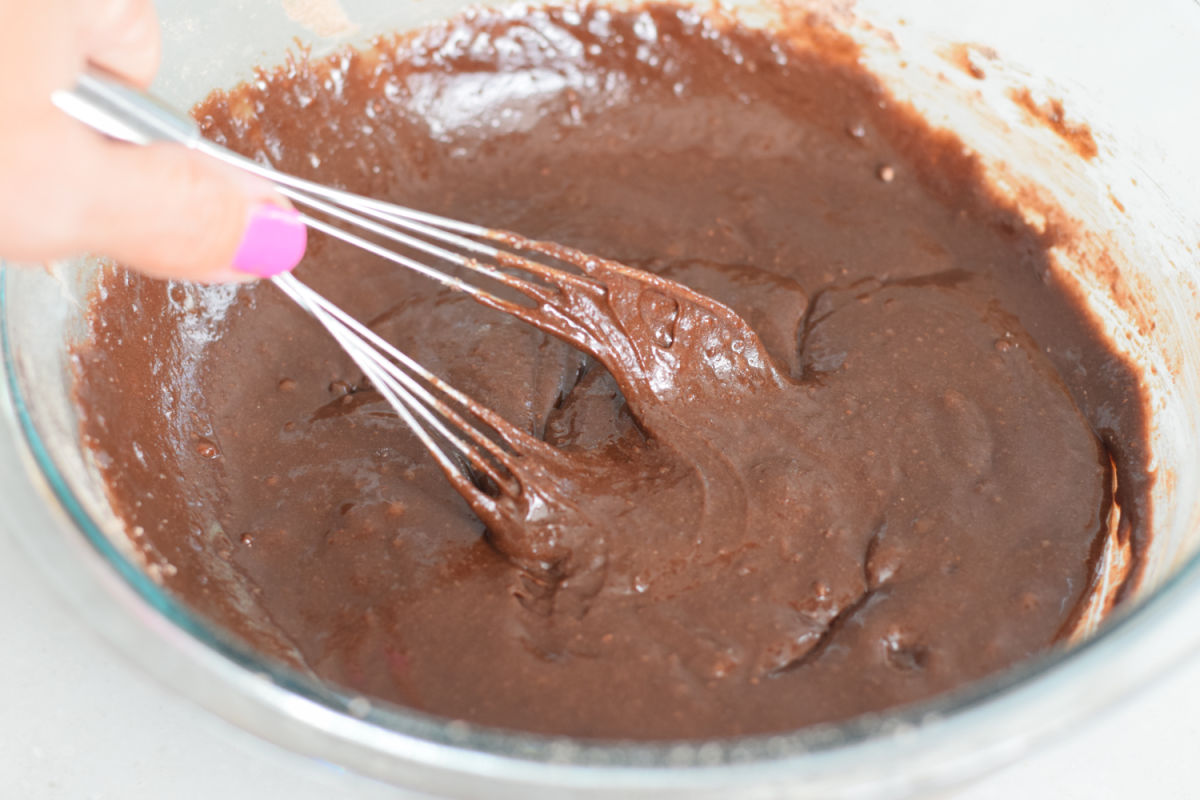
Mix the brownie mix, egg, water, and oil
Step Two
Spread the batter into a rectangular pan that has been lined with parchment paper
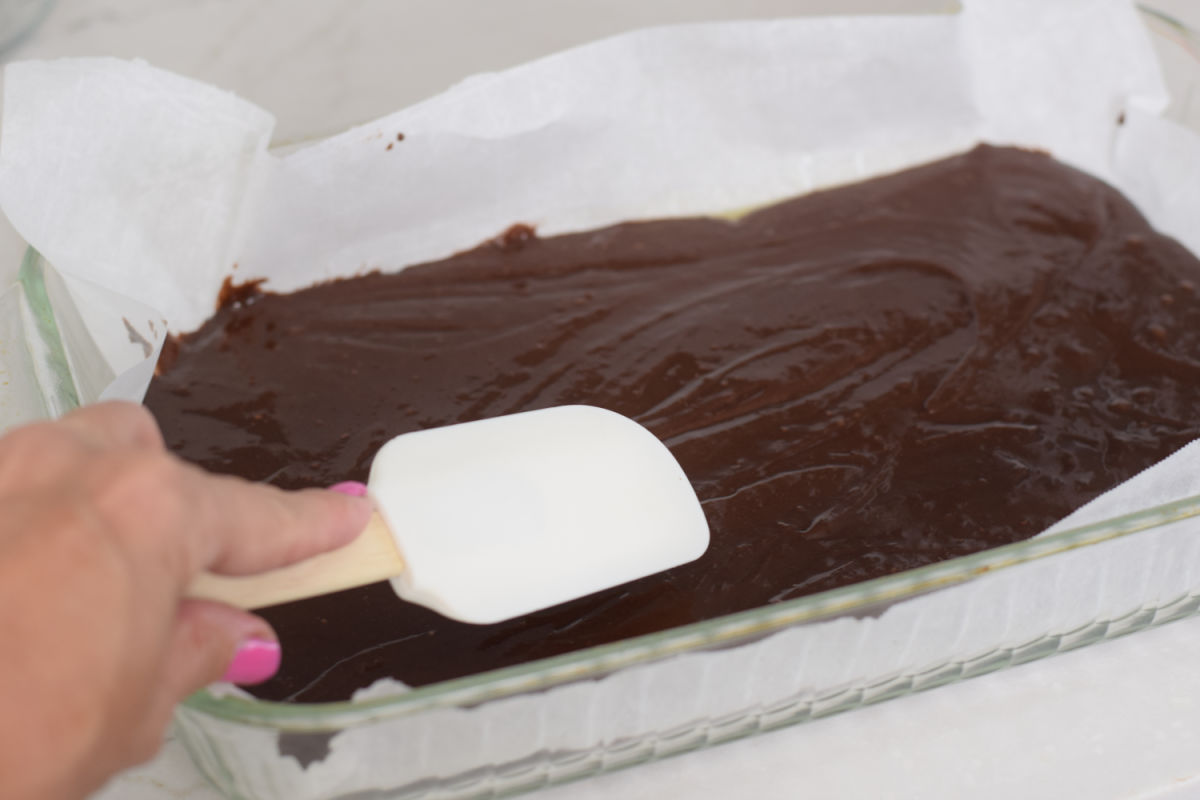
Bake until cooked through and set out to cool for about an hour
Step Three
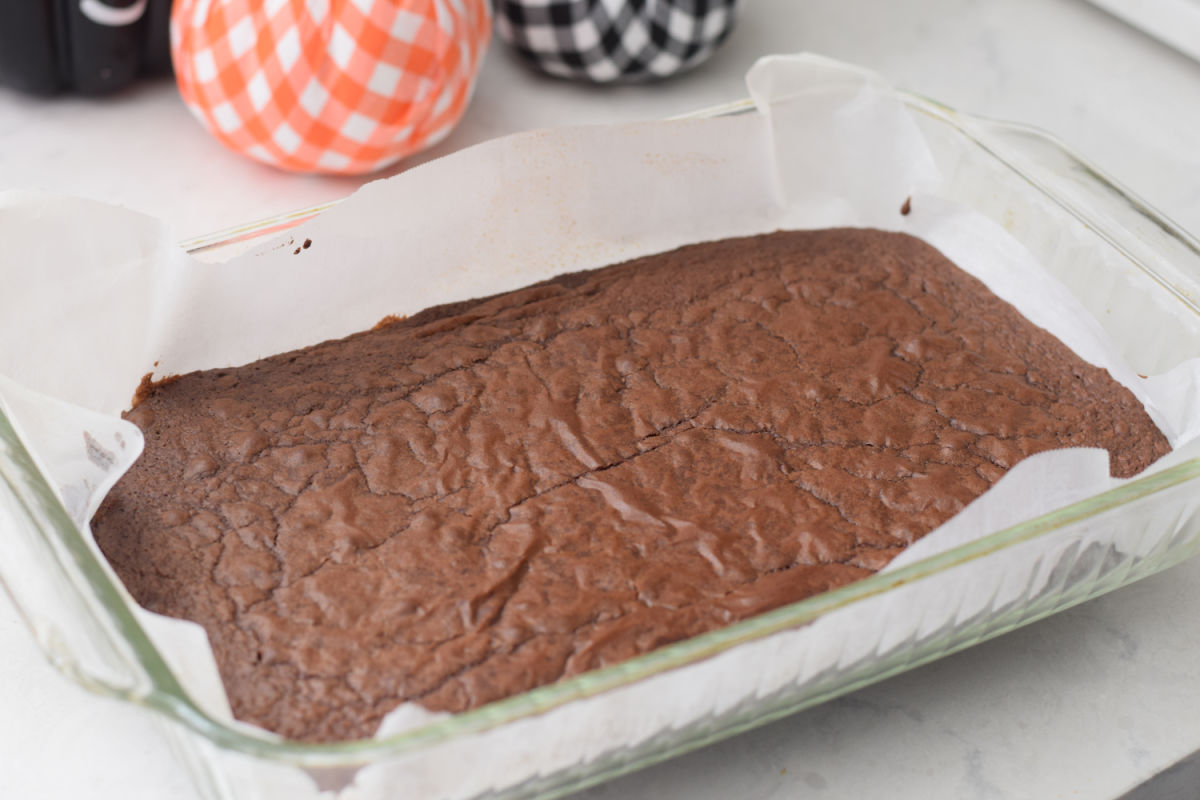
Once the brownie has completely cooled, pull the parchment paper up to lift the brownie out of the pan
If you can, then pull the parchment paper off of the bottom of the brownie
Step Four
Making the Eye
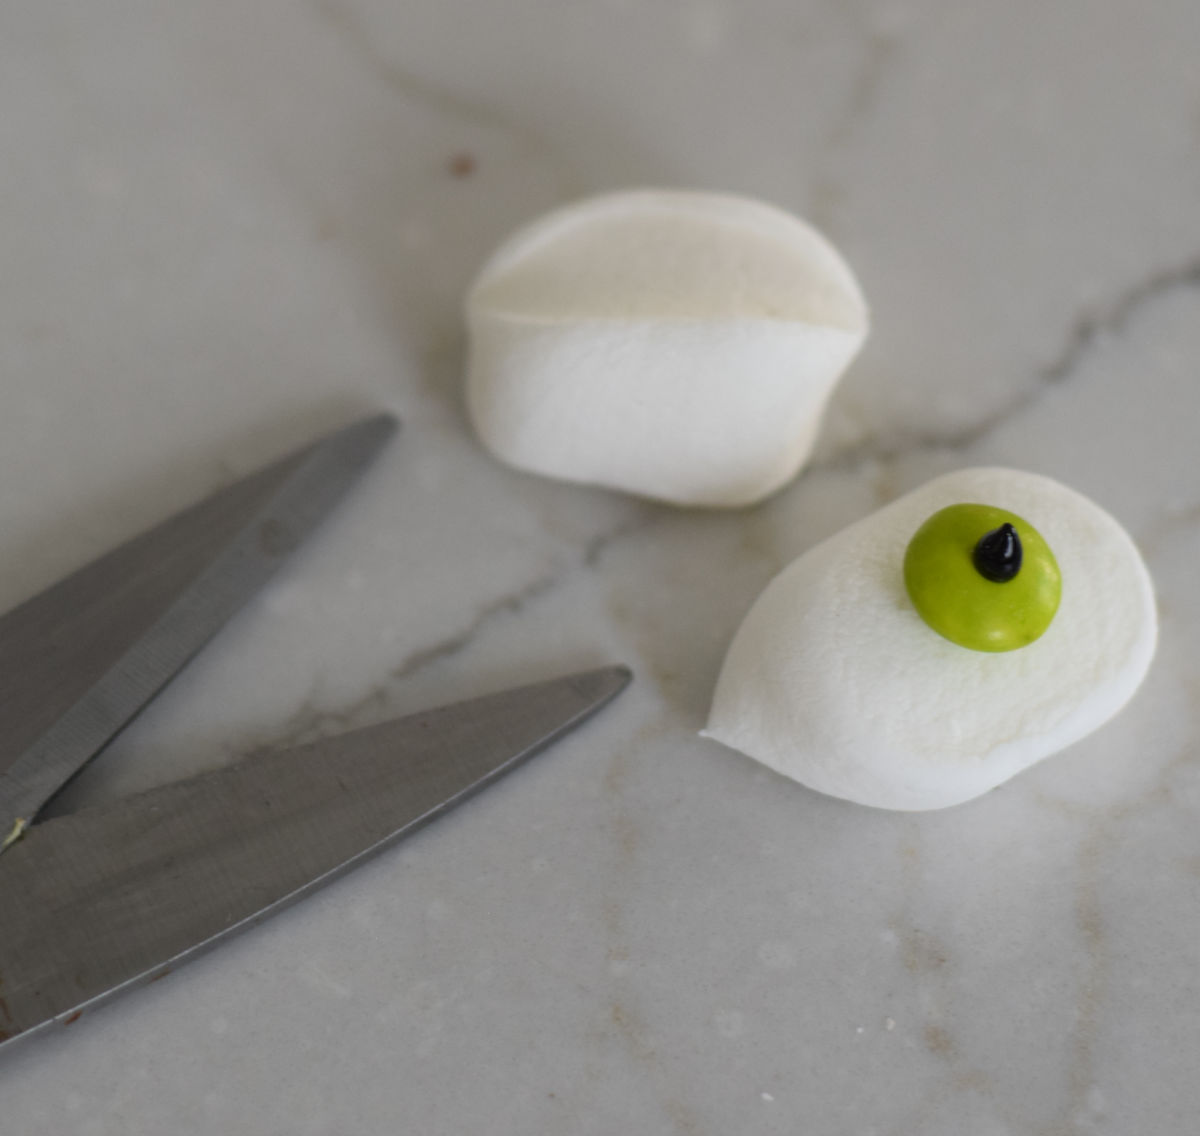
Cut a tip off of the marshmallow about 1/4 inch deep
To that, use frosting to attach the green M&M into the center and then dot a black dot of gel onto the M&M
Now you can start to decorate the brownie
Step Five
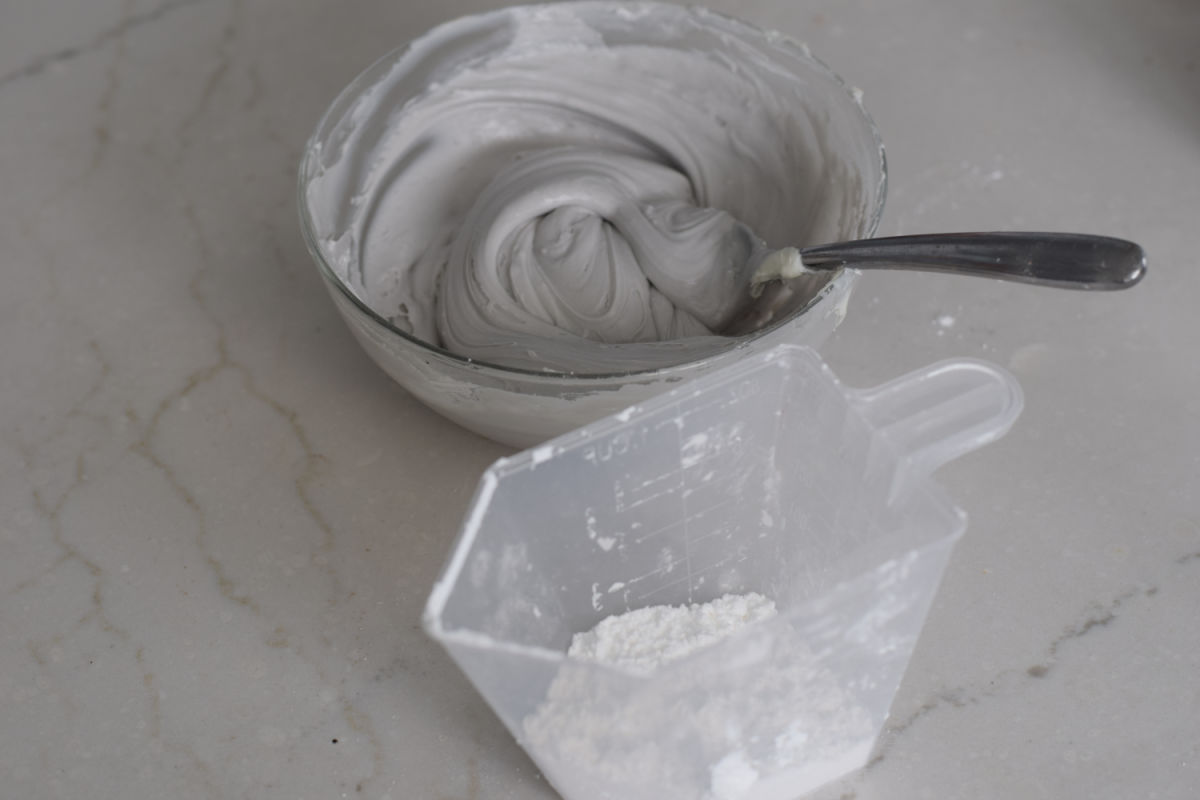
Mix as much black gel as you need into your white frosting to make a silver color
Into the silver frosting, mix in the powdered sugar
Step Six
Silver Decorations
Attach the basket weave tip to a piping bag and fill it with the silver frosting
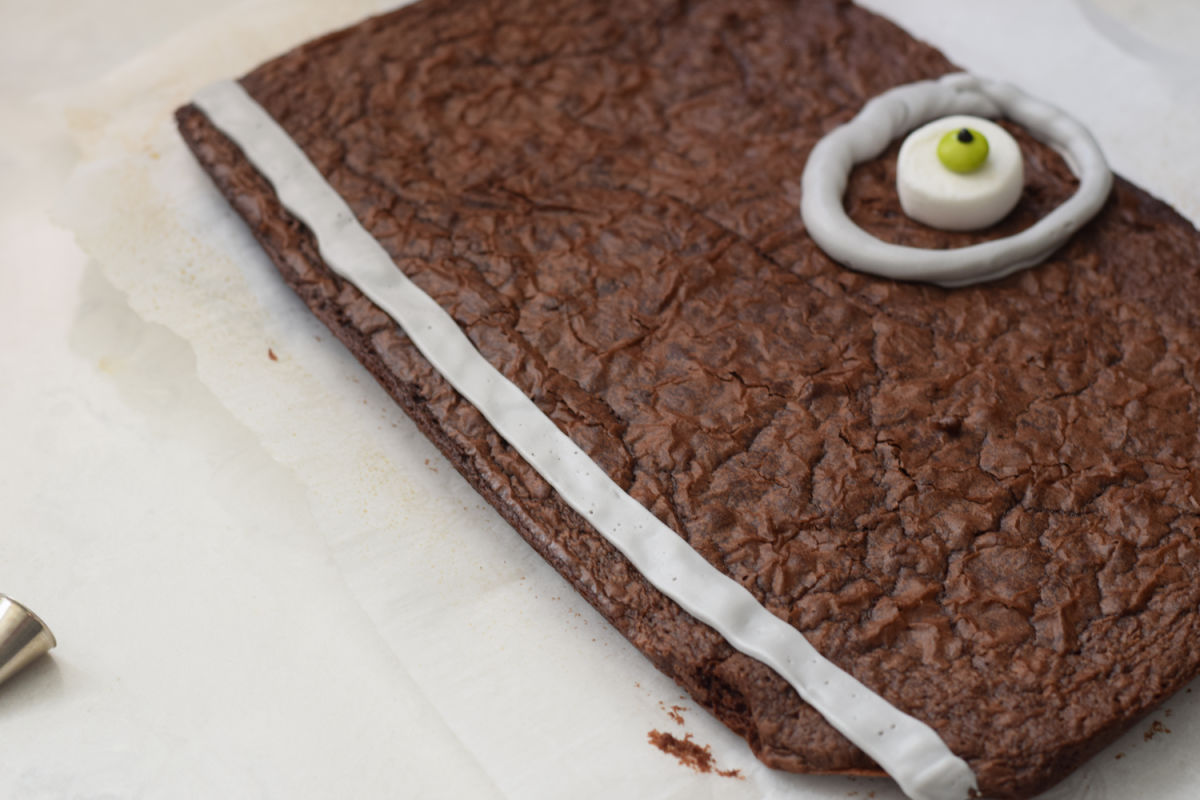
Make a line going down the left side of the book
Replace the tip with the large round tip
Make a wavy snake on top of the line you just made and add some curves to the other 2 corners of the book
*Note – The Hocus Pocus books actually has curled up snakes in the other 2 corners. I did not want to make the book that complicated so I kept it simple with some curved lines
Step Seven
Stitches
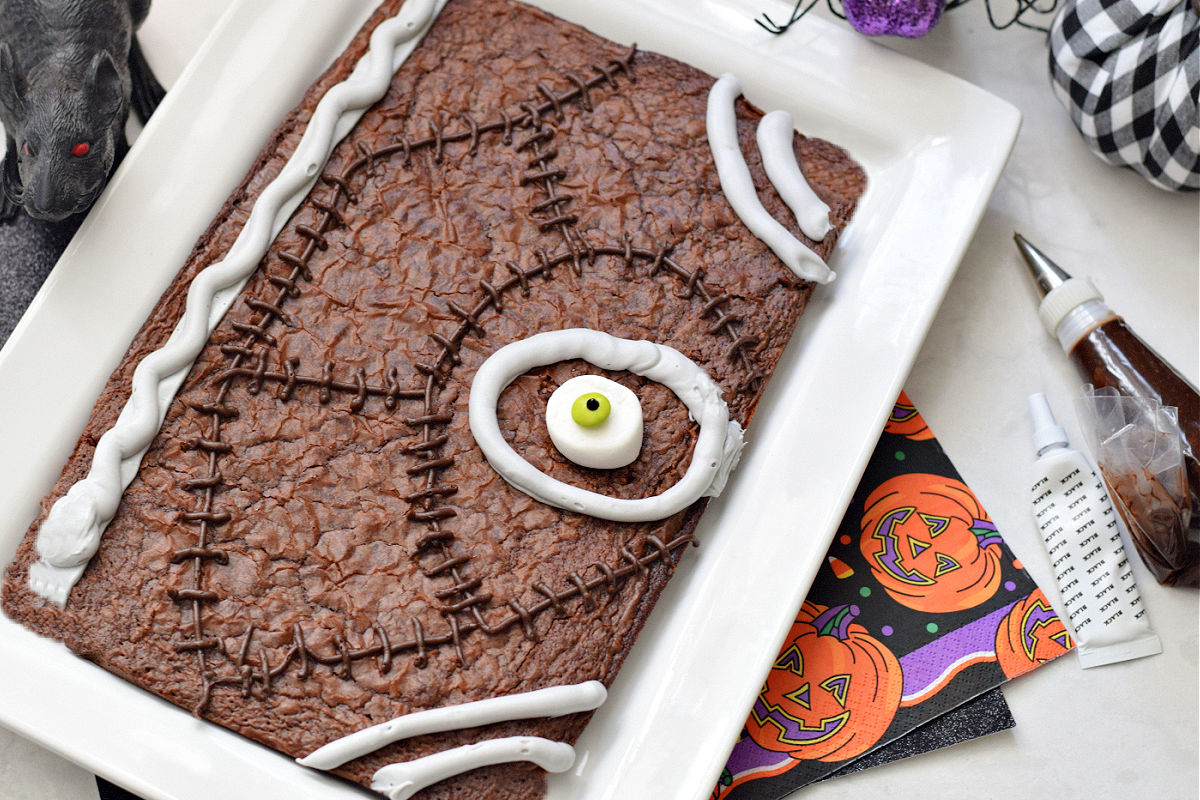
Now, add about 1/4 of the chocolate frosting into a piping bag that has been fitted with a writing tip
Use the writing tip to make stitches around the book
Expert Tips
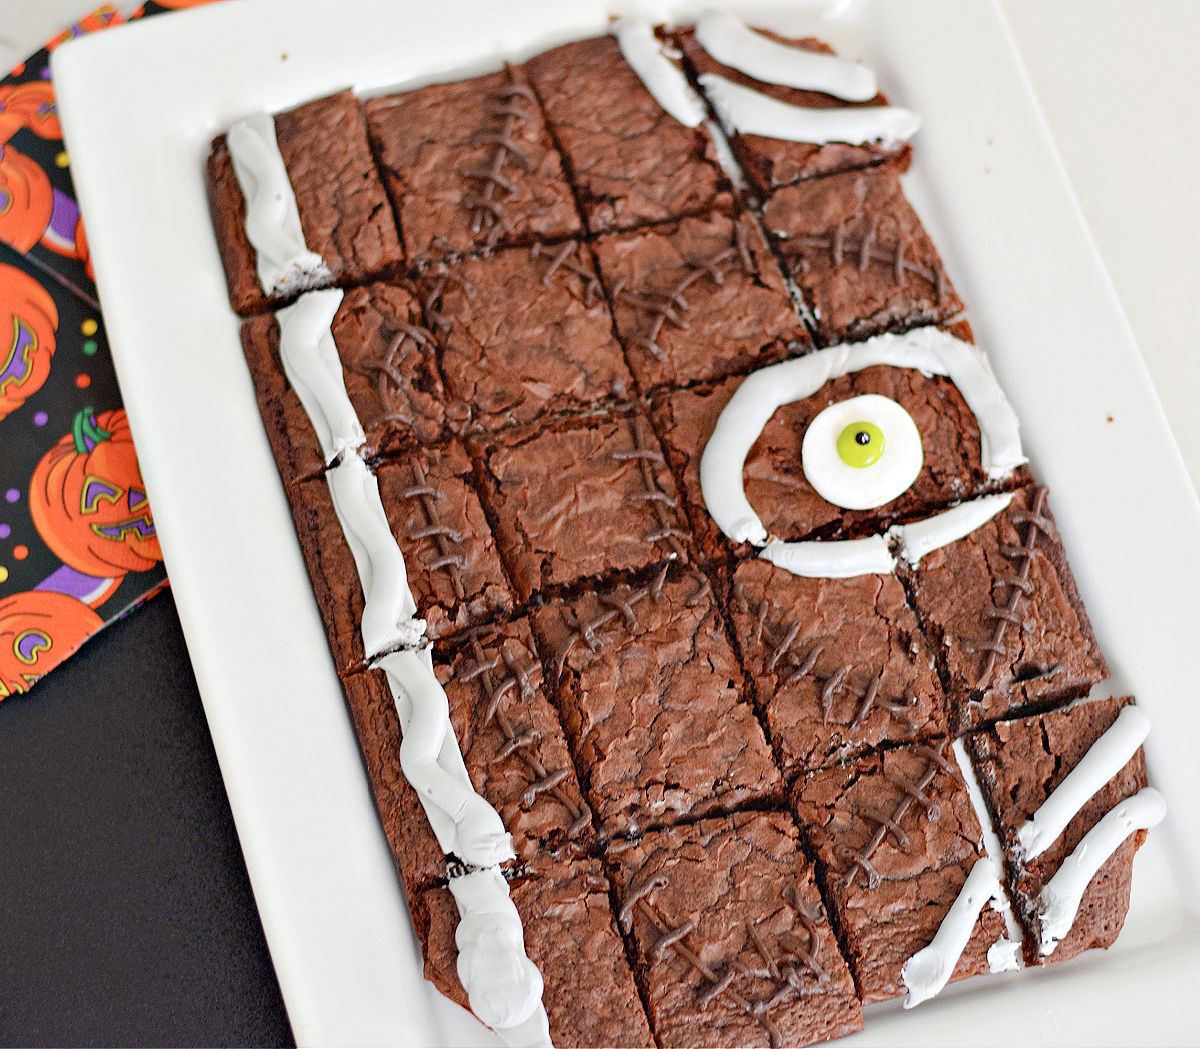
After the frosting has had time to dry, you can cut the brownies into squares or rectangle
Recipe Variations
You can cut the large brownie into about 20 smaller rectangles and decorate each one with a candy eyeball and black gel frosting
What to Serve with your Book Brownie – Hocus Pocus
I would serve lots of fun Halloween Treats that make you think of Hocus Pocus like these fun Hocus Pocus Treat Ideas:
- Pumpkin Shaped Treats
- Spider Treats
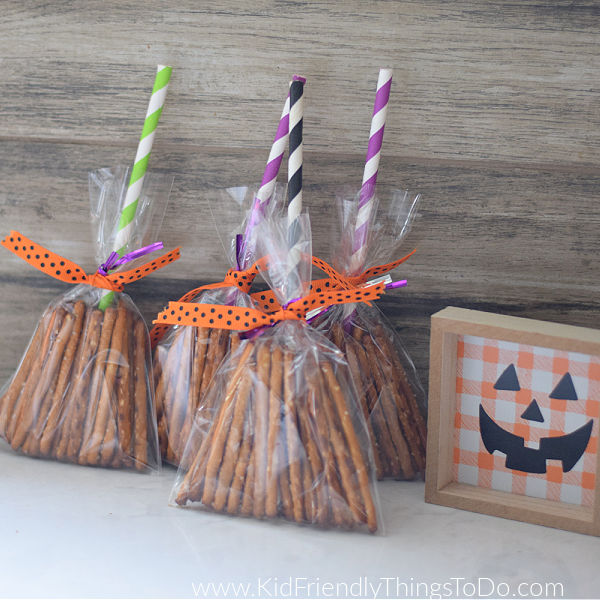
- Witch Broom snacks
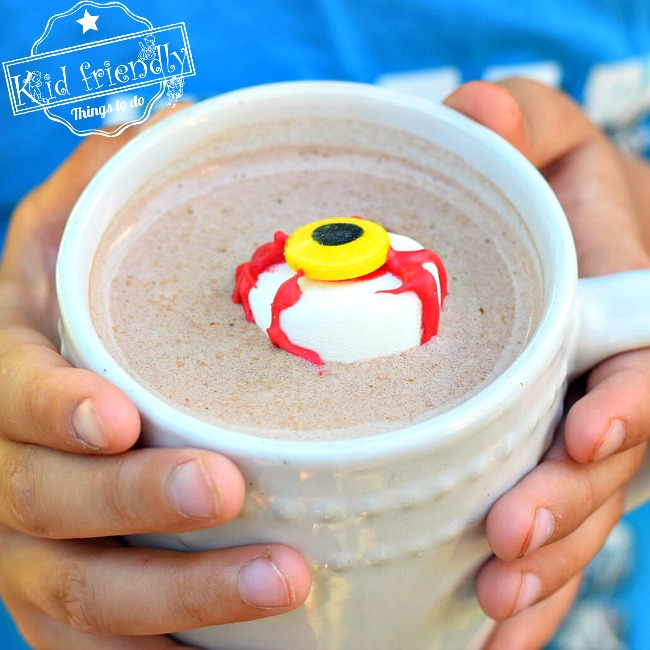
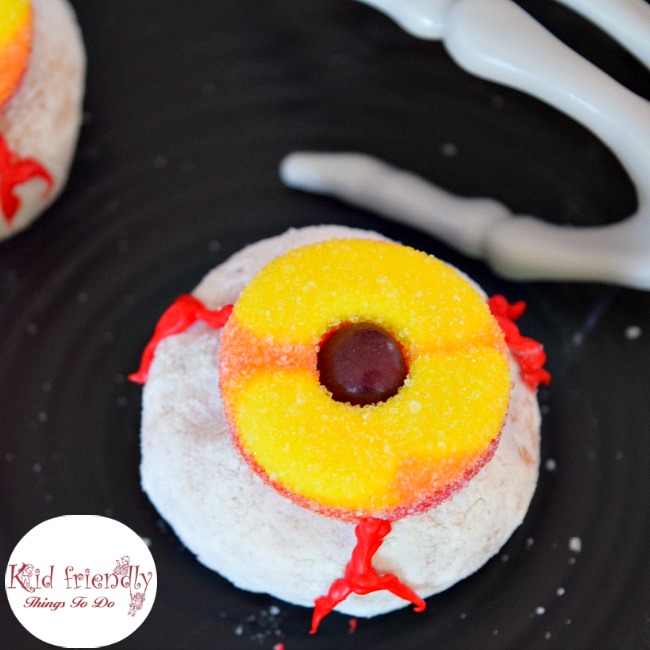
- Eyeball snacks
- A Hocus Pocus Charcuterie Board
- Frankenstein snacks for Billy
Winifred lovingly refers to the spell book as “Book” and she calls it to her as you would a pet
Yes! As a matter of fact, It’s better if you make this Hocus Pocus Treat ahead of time so the brownie can cool completely and the frosting has time to harden before cutting the brownie
Make Ahead and Storage
Making Ahead: You’ll want to make this brownie recipe a couple of hours in advance or the day before
Storage: You can store this brownie in a container at room temperature for a few days
You can also keep it uncovered overnight and it will still be soft
More Hocus Pocus-Themed Treats You’ll Enjoy
Serving Size
This recipe makes about 20 individual-sized brownies
Follow along with me on Social Media
If you don’t want to miss an idea then follow along with me on my favorite places to share my ideas like Pinterest, or on Facebook
My top Amazon Links for this Halloween Fun Treat
(affiliate links)
 Kayaso Cake Decorating Icin...Shop on Amazon
 Wilton Recipe Right Non-Sti...Shop on Amazon
 Plasticpro Plastic Serving ...Shop on Amazon
 Shappy 12 Pcs Coupler Pipin...Shop on Amazon
 Riccle Disposable Piping Ba...Shop on Amazon
[adthrive-in-post-video-player video-id=”Od0ua2kC” upload-date=”2023-09-14T17:32:14.000Z” name=”Hocus Pocus Brownies ” description=”A fun Halloween Pull Apart Spellbook Brownie inspired by the movie Hocus Pocus. ” player-type=”default” override-embed=”default”]
Hocus Pocus Brownies
Equipment
- writing tips large round tip, writing tip, basket weave tip
- 2 piping bags
- 2 couplers for piping tips
- 1 9×13 inch baking pan
- mixing bowls, measuring tools, and utensils
Ingredients
- 1 box Betty Crocker Original Brownie Mix
- ⅓ cup vegetable oil
- 3 Tbsp. water
- 1 large egg
- ½ cup frosting white
- 1 tsp. black gel approximate
- ⅓ cup powdered sugar
- ½ cup frosting chocolate
Instructions
- Mix the brownie mix, egg, water, and oil
- Spread the batter into a rectangular pan that has been lined with parchment paper
- Bake until cooked through and set out to cool for about an hour
- Once the brownie has completely cooled, pull the parchment paper up to lift the brownie out of the pan
- If you can, then pull the parchment paper off of the bottom of the brownie
Making the Eye
- Cut the tip off of the marshmallow about 1/4 inch deep
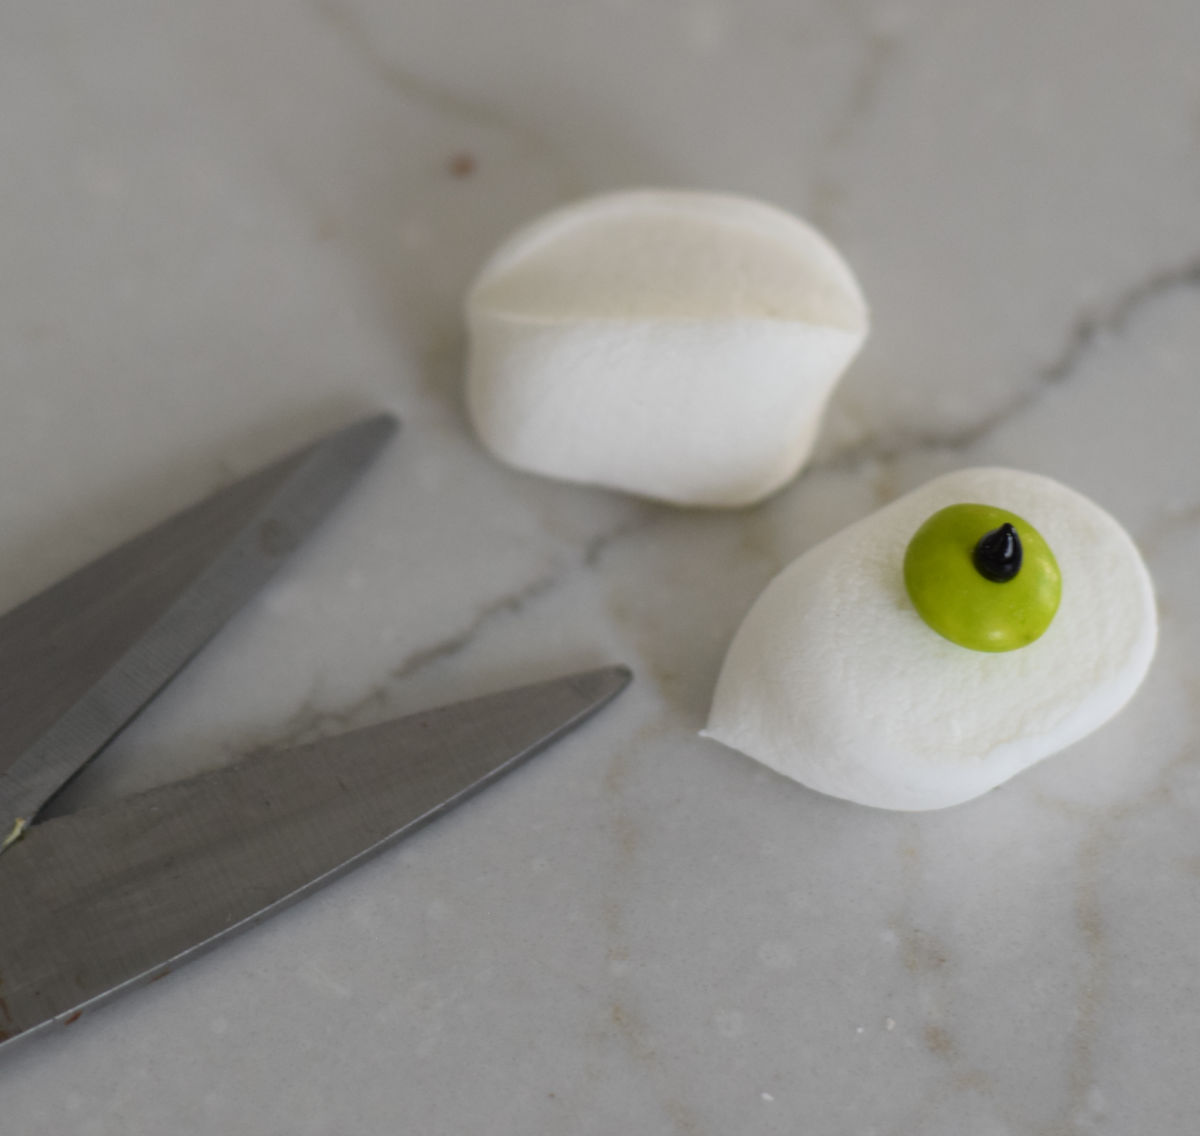
- To that, use frosting to attach the green M&M into the center and then dot a black dot of gel onto the M&M
- Now you can start to decorate the brownie
- Mix as much black gel as you need into your white frosting to make a silver color
- Attach the basket weave tip to a piping bag and fill it with the silver frosting
Silver Decorations
- Make a line going down the left side of the book
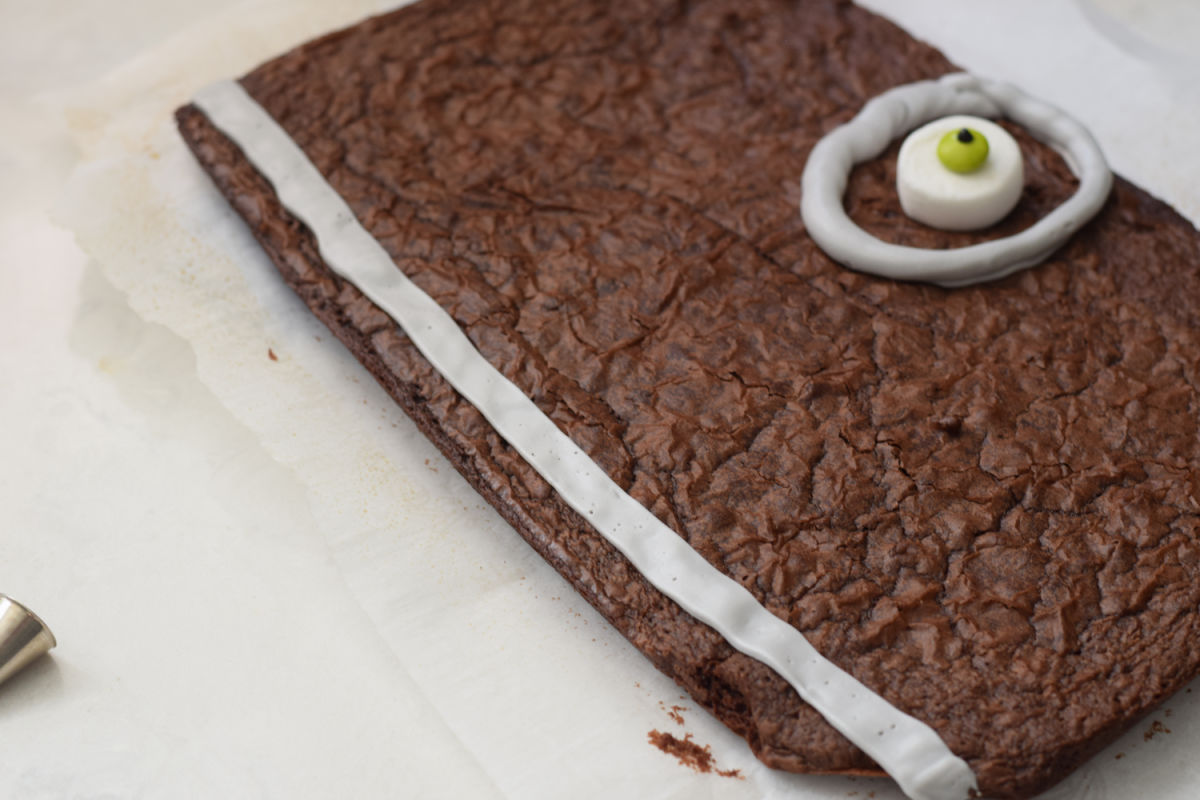
- Replace the tip with the large round tip
- Make a wavy snake on top of the line you just made and add some curves to the other 2 corners of the book
- *Note – The Hocus Pocus books actually has curled up snakes in the other 2 corners. I did not want to make the book that complicated so I kept it simple with some curved lines
Stitches
- Now, add about 1/4 of the chocolate frosting into a piping bag that has been fitted with a writing tip
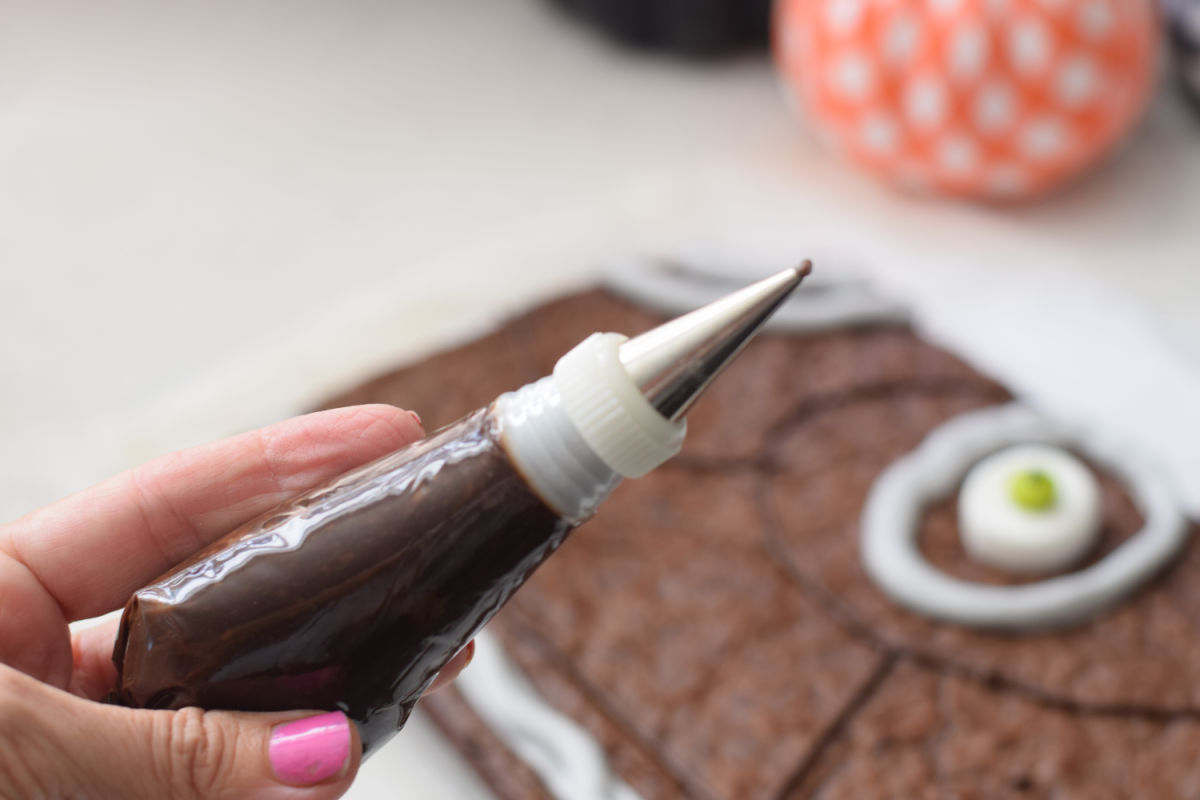
- Use the writing tip to make stitches around the book

