Make A Paper Bag Witch Broom Craft {A Halloween Goody Bag and Craft}
This post may contain affiliate links – please read my disclosure statement.
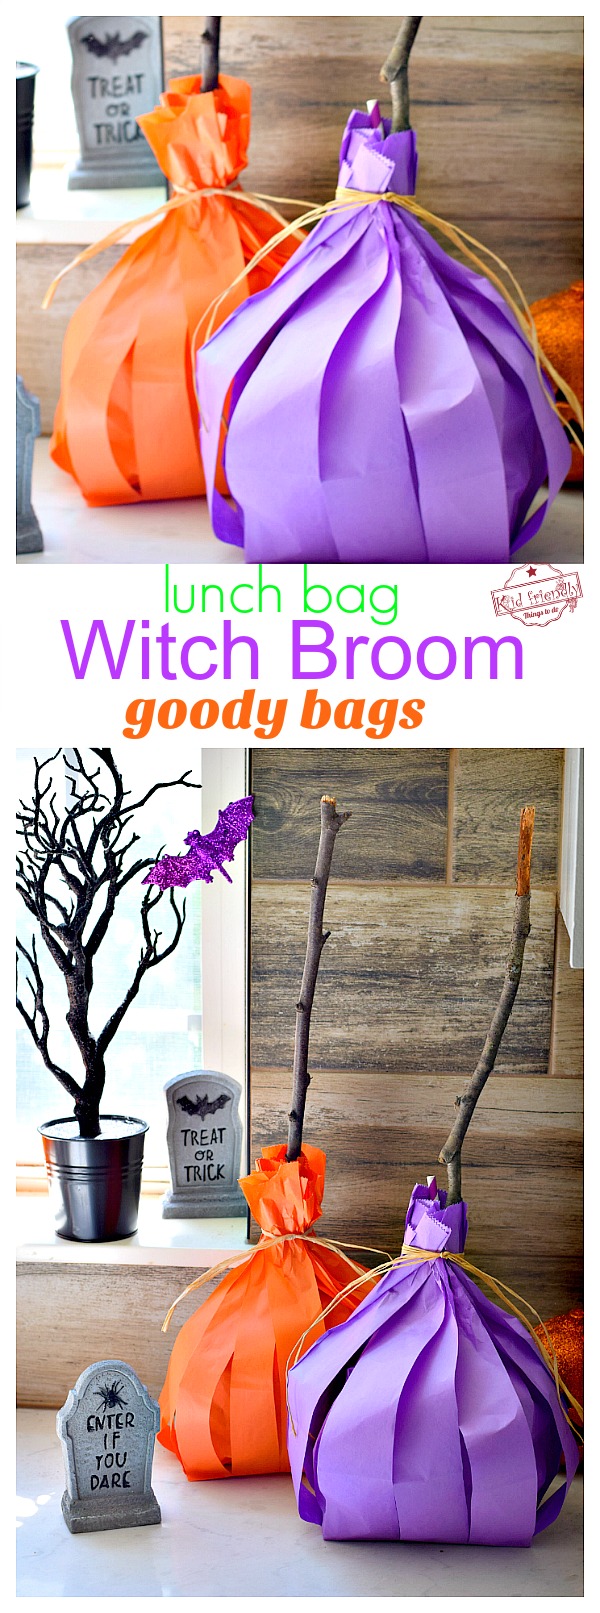
It’s the Bewitching time of year, again! But, no witch is complete without her or his broom. Try making these adorable witch brooms out of paper lunch bags this Halloween. They are the perfect addition to any Halloween Party. Come on in and I’ll show you how to make these Paper Bag Witch Brooms…
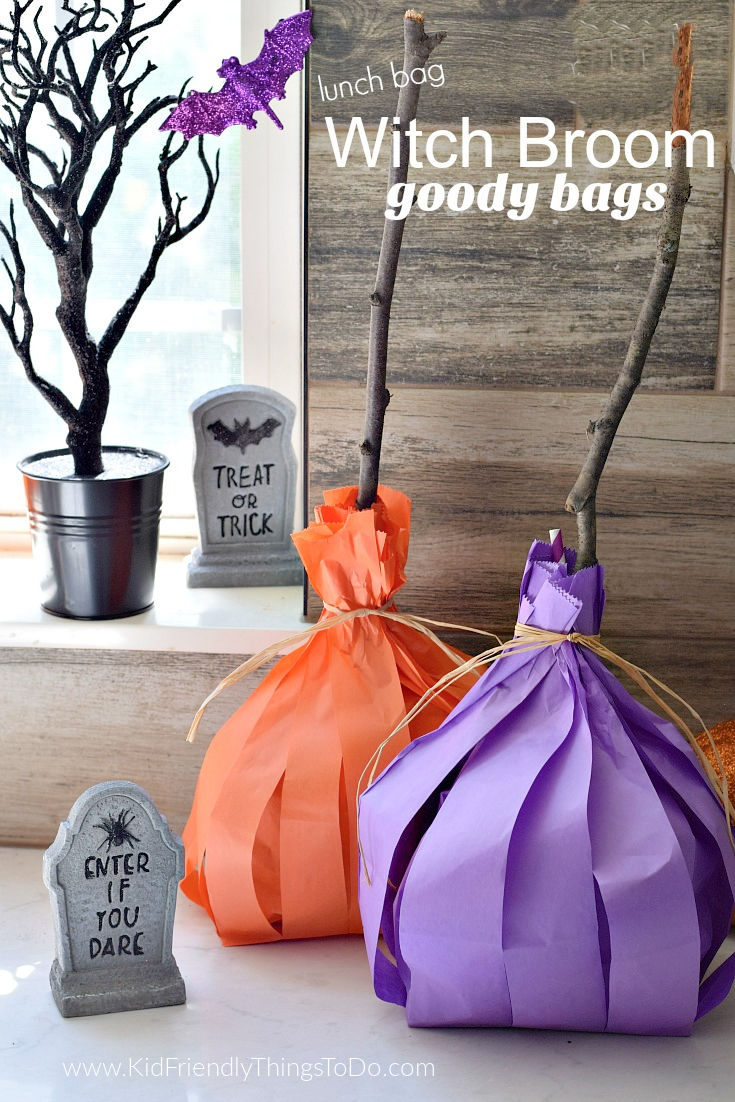
Years ago, a mother from my daughter’s nursery school made a small, natural-color version of these for all twelve kids. She stuffed them with candy and toys for each child as a special Halloween treat.
If you are looking for ideas for your Halloween party, you might like my post on Making Pretzel Broomsticks, Making Simple Lollipop Ghosts, or Make Ghost Water Bottles for your party
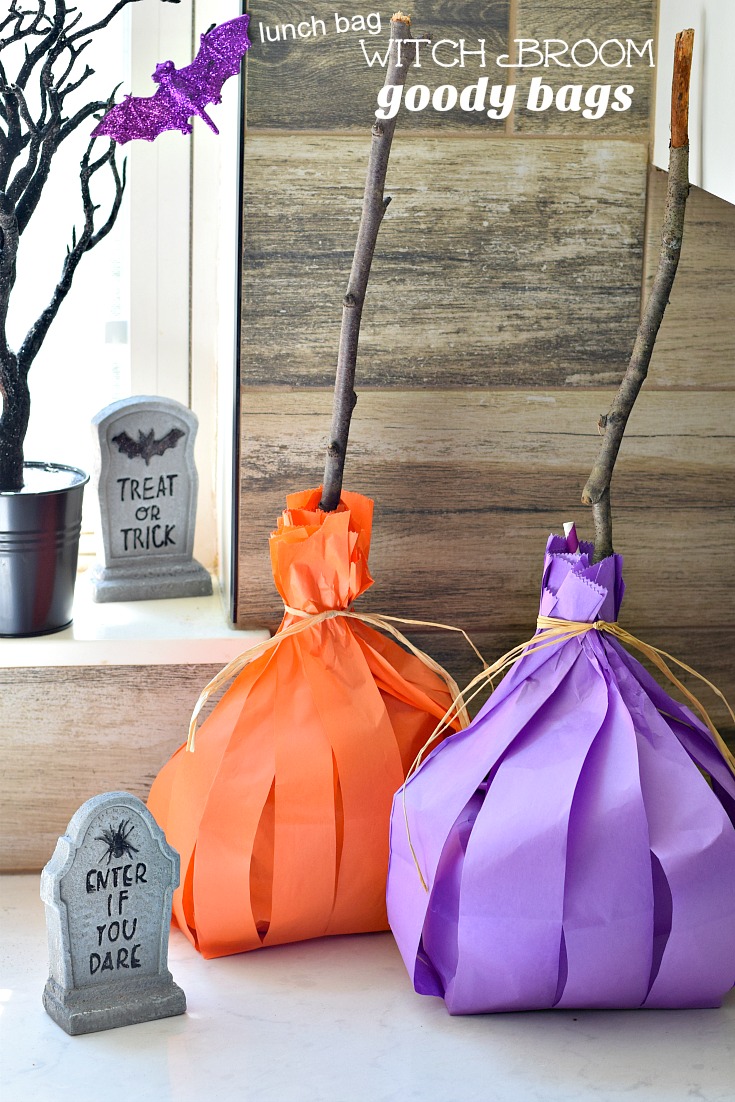
I fell in love with them. As soon as I got home, and everyone was napping, I got right to work, figuring them out, and creating my own versions.
Here Is What You Will Need: For each broom
- 2 Lunch bags of the same color
- Sticks for handles from the great outdoors
- Yarn or Raffia to tie the broom together
Instructions for the paper bag witch broom craft:
Step One
You can also find them in the printable card below
Step Two
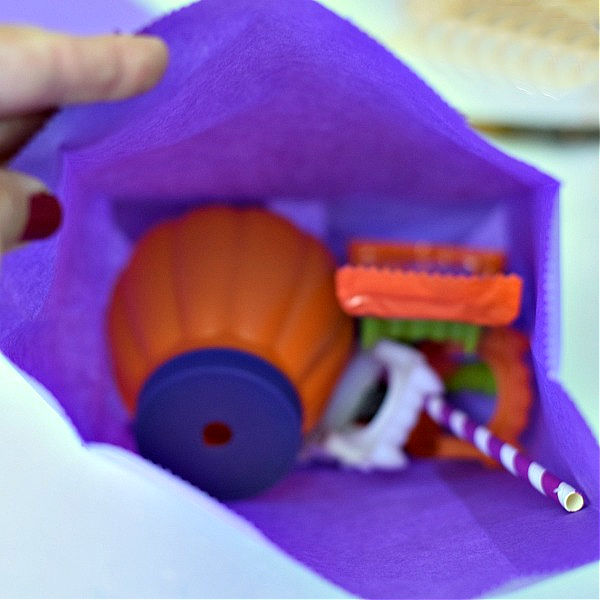
- Place your goody gifts into one of the bags
Step Three
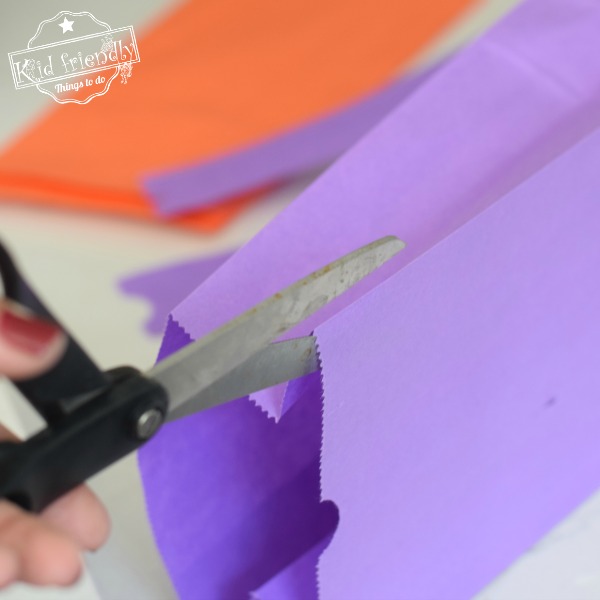
- the other bag will be the one that you cut strips into
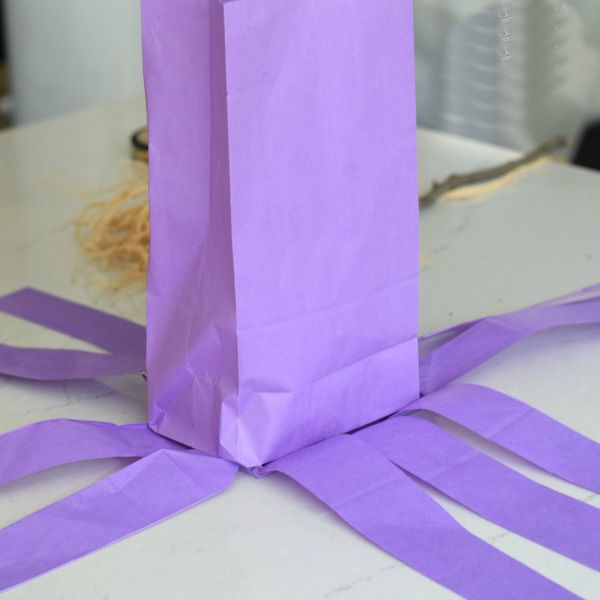
- Cut 1/2-inch to 1-inch strips of the 4 outer sections of the bag – down to the bottom section of the bag – leaving the bottom intact
Step Four
- now, place the filled bag into the center of the cut bag
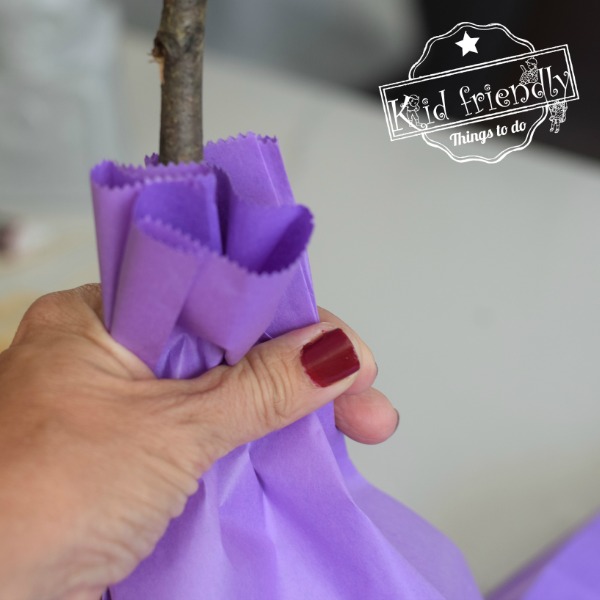
- Place your stick into the middle of the goodies
- Pull the strips up over the filled bag
- holding your hand over the top, so the strips don’t slip down, tie the strips with raffia
Make A Paper Bag Witch Broom Craft {A Halloween Goody Bag and Craft}
Materials
- 2 lunch bags the same color
- 1 stick for a broom handle
- Yarn or Raffia to tie the broom together
- optional prizes to go inside the broom
Instructions
- place your goody gifts into one of the bags
- the other bag will be the one that you cut strips into
- Using the second bag you have reserved, cut 1/2 inch to 1-inch strips from the top – down to the bottom section of the bag – leaving the bottom intact
- now, place the filled bag into the center of the cut bag
- place your stick into the middle of the goodies
- pull the strips up over the filled bag
- holding your hand over the top, so the strips don't slip down, tie the strips with raffia
~Melissa – KidFriendlyThingsToDo.Com


