Cinnamon Salt Dough Recipe for Thankful Tree Ornaments
This post may contain affiliate links – please read my disclosure statement.
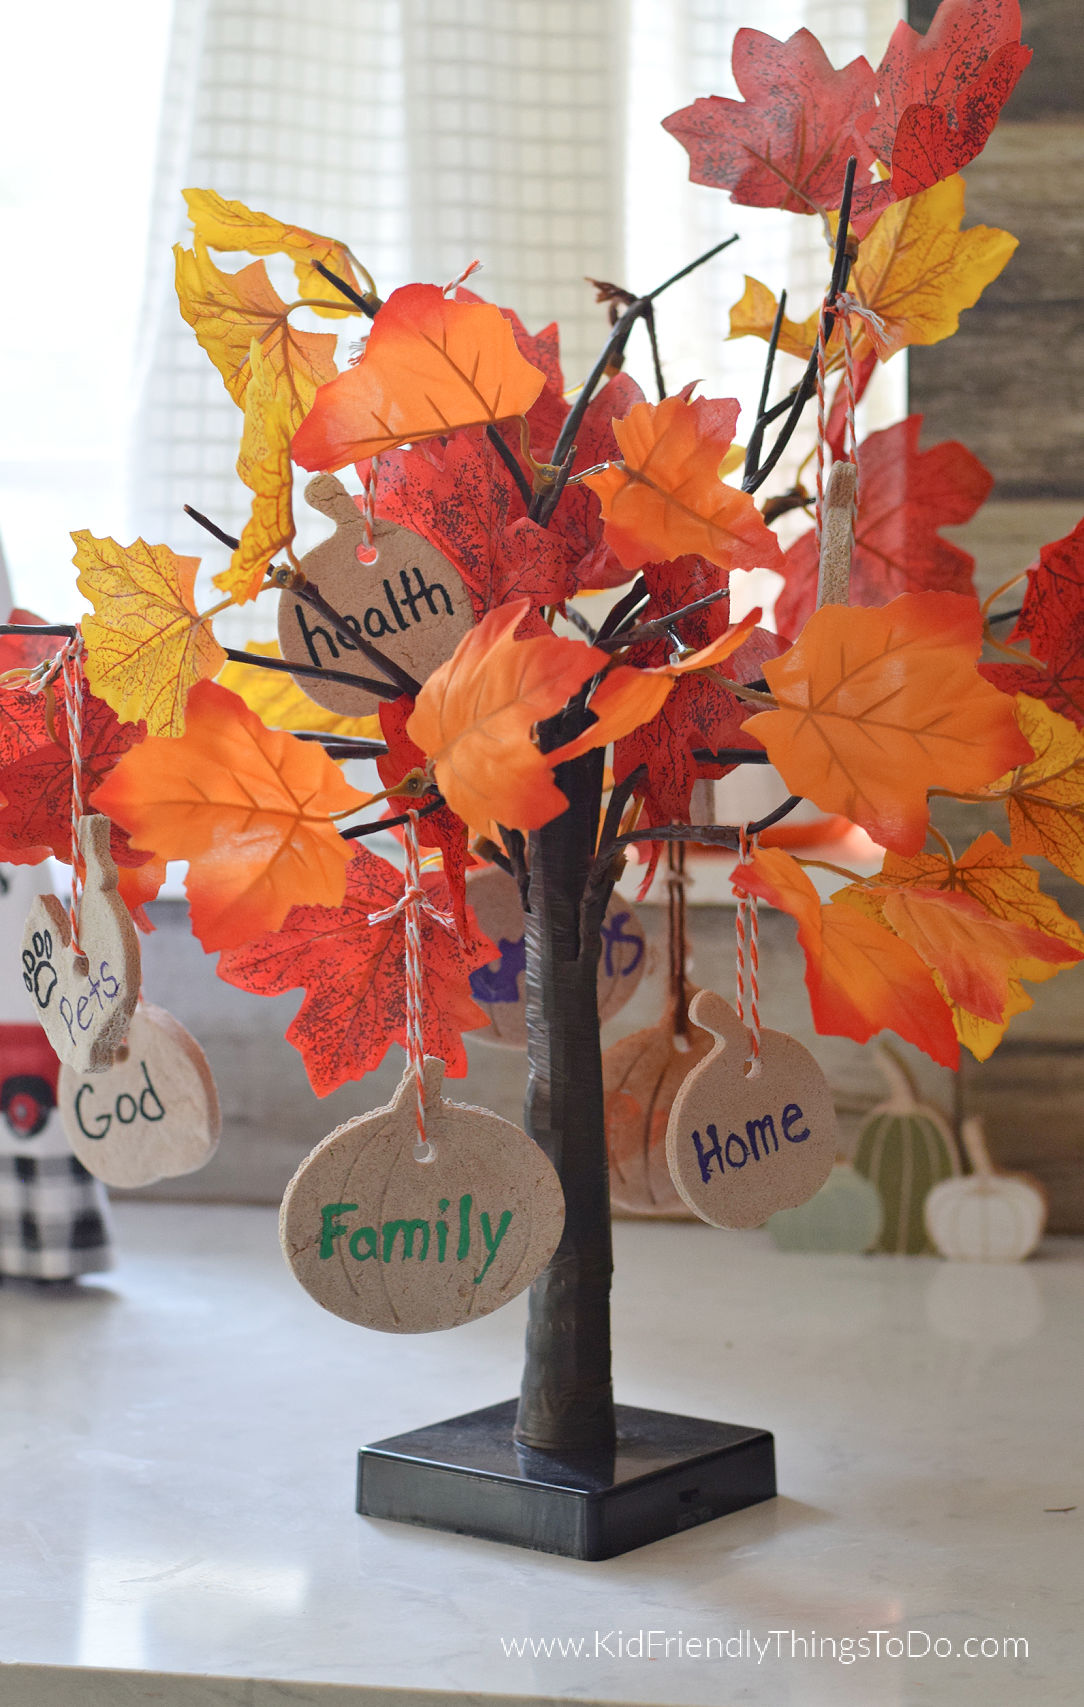
Making This No-Bake Cinnamon Salt Dough Recipe is perfect for making Thanksgiving Ornaments for a Thanksgiving Thankful Tree. This is such a sweet family tradition to start with the kids.
This post may contain affiliate links. As an Amazon Associate, I earn a small commission from qualifying purchases. See my disclosure policy to read more. Adult supervision is required for each step of activities, recipes, crafts, and games with children. Small parts are a choking hazard.
Cinnamon Salt Dough Recipe for Thankful Ornaments
Set up the Thankful Ornament Activity on Thanksgiving for Your Family to Enjoy
Thanksgiving is such a sweet holiday. It’s a holiday that allows everyone to gather and enjoy food without having to spend a fortune on presents. Mostly, it’s a holiday to reflect on what we are thankful for. Throughout the years, I have made a lot of Thanksgiving crafts to share on the blog like a Pumpkin Turkey Centerpiece for the table, Water Bottle Indian Corn, and a Paper Cup Teepee.
What You’ll Love About this Cinnamon Salt Dough Recipe
- Bake or No-Bake – You have the option to Bake these ornaments ahead of time (or if you have time – let these ornaments air dry)
- These ornaments will last for years. If stored properly, they will be enjoyed for generations to come.
Ideas for your thankful tree ornaments
- place ornament shapes in a basket on the table
- provide paint pens, gel pens, markers, or puffy paint for guests to write on the ornaments
- Then, display everyone’s thankfulness on a tree in the middle of your Thanksgiving table to be enjoyed by all
No-Cook Salt Dough Thanksgiving Ornaments
This is a NO COOK Dough, and it dries hard. Another (faster) alternative is to bake them; instructions on that are below.
Supplies You’ll Need Salt Dough Ornaments
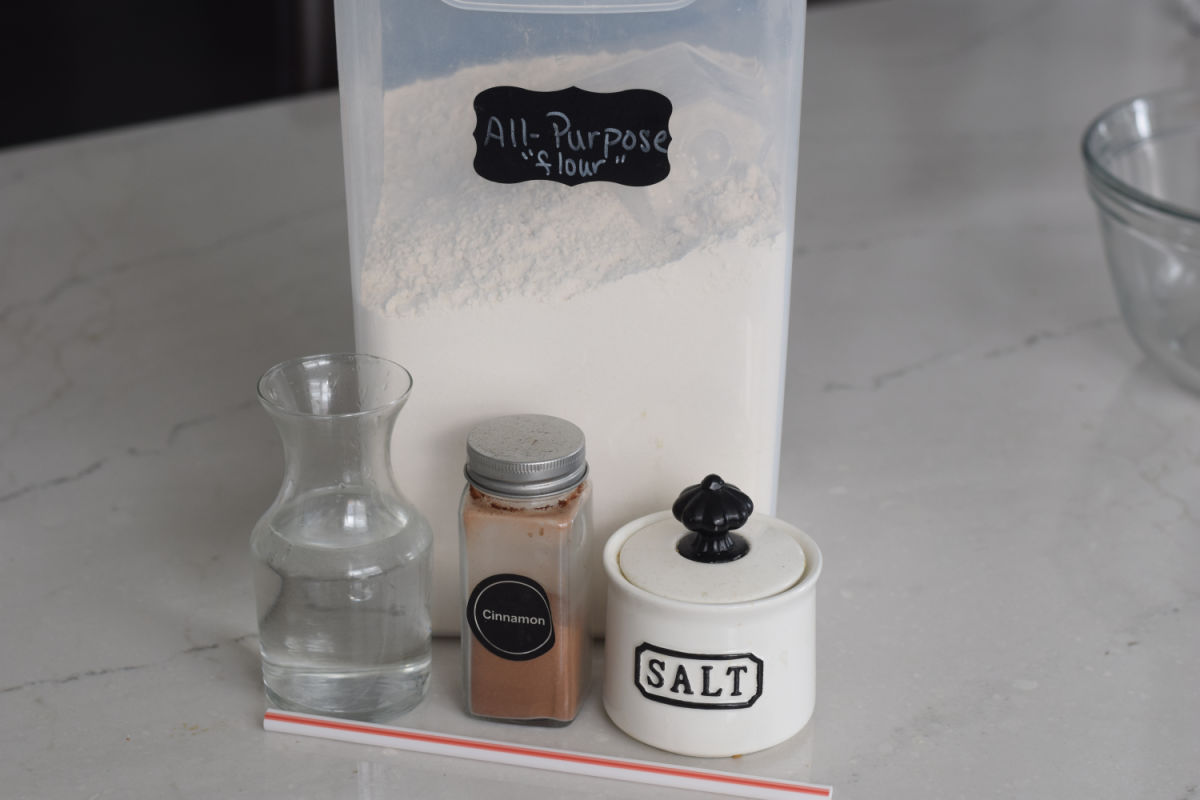
One cup flour
1/4 cup, plus 2 Tablespoons of salt
1/4 cup, plus 2 Tablespoons of hot tap water
1 Tablespoon of cinnamon
Food coloring is optional
Equipment Needed
Straw
Cording or Ribbon for Hanging
Thankful Tree
Paint Pens, Chalk Markers, or Sharpies
Supplies For Tree
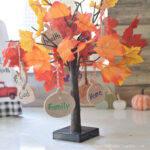
You can gather twigs in the yard to make a thankful tree, purchase twigs at a craft store, or purchase a pre-lit fall tree each year.
How to Make Thankful Tree Ornaments
Step One
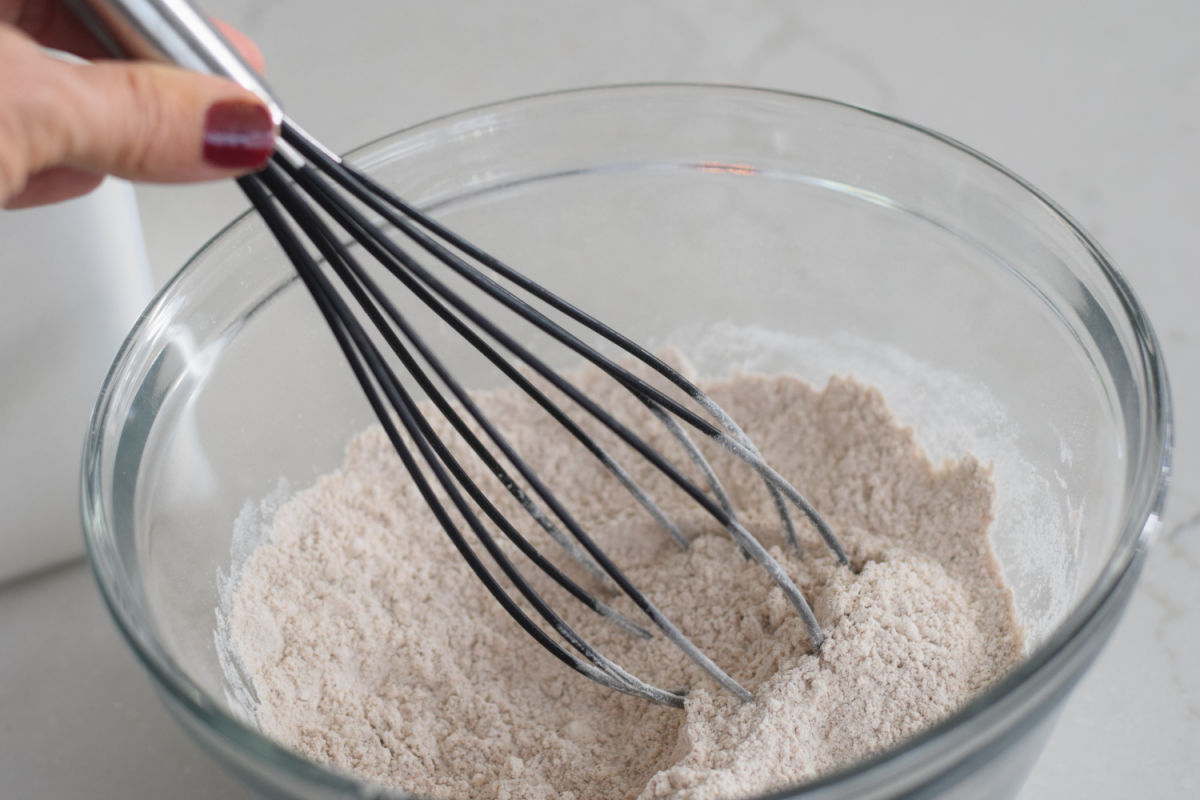
Combine flour and salt.
Step Two
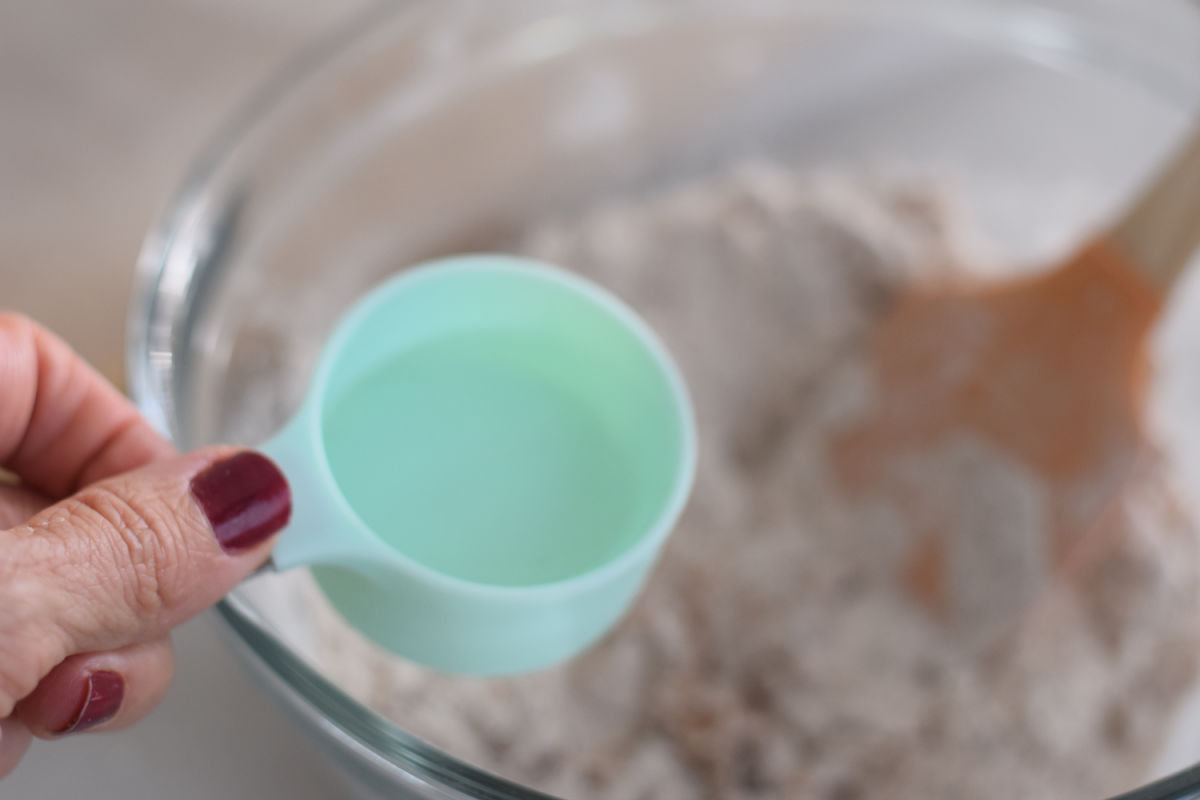
Add hot water and optional food coloring. Without food coloring, the dough will turn a nice brown color with bits of cinnamon throughout. Knead for 5 minutes on a floured board.
Step Three
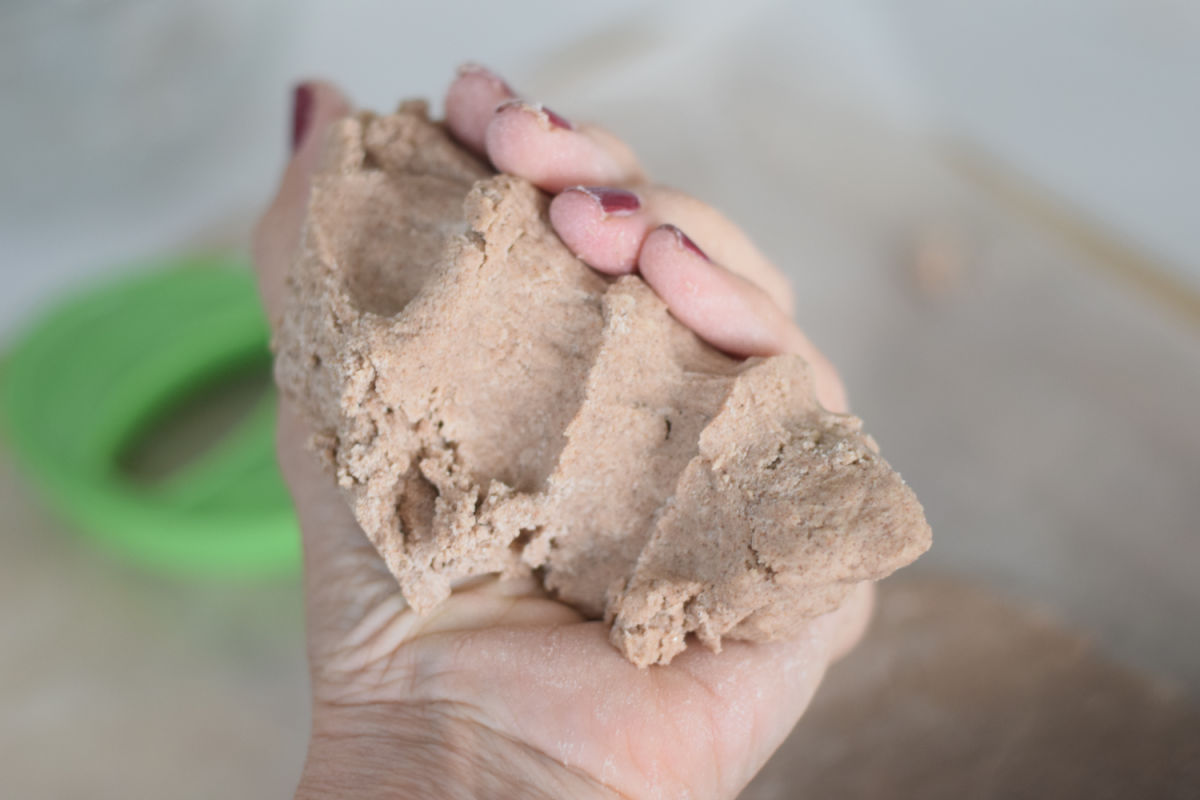
The salt dough should be a play-dough consistency. Your fingerprints should stay molded in the dough, and it should be pliable. If it is too dry, water 1 Tbsp at a time until it is just right.
Step Four
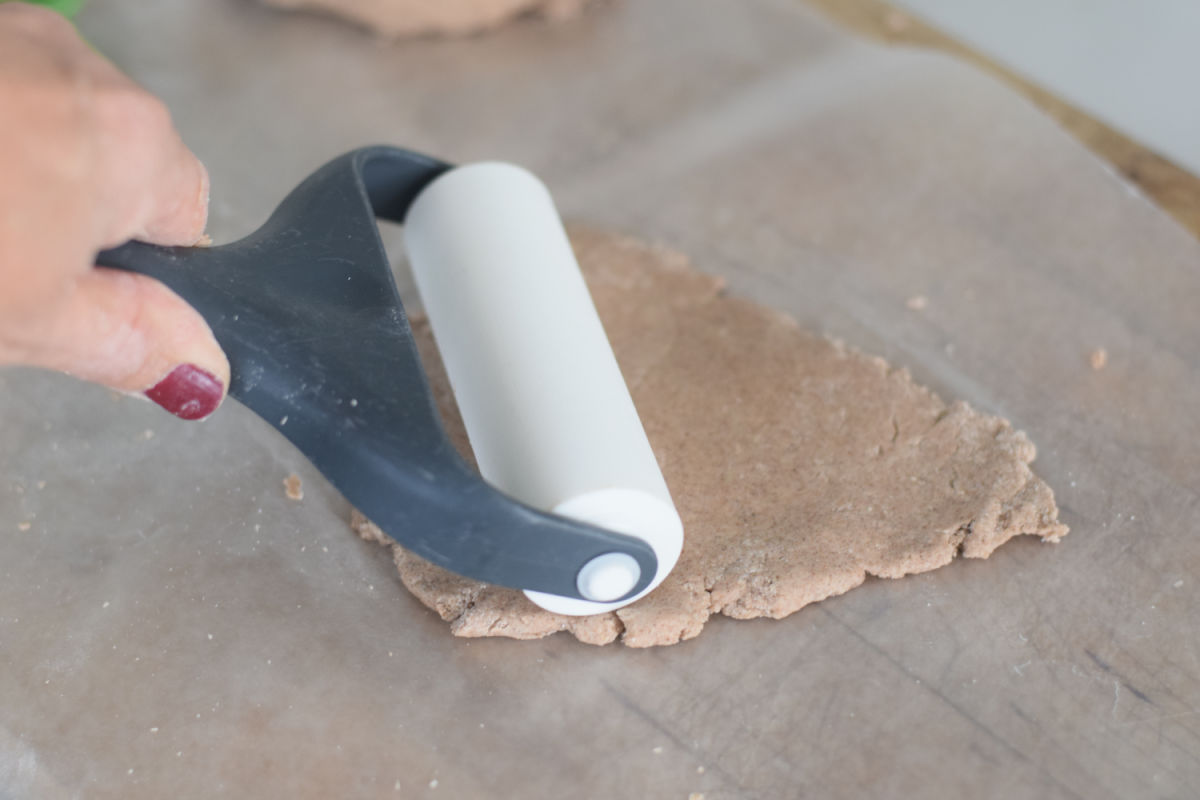
Roll the dough out like playdough.
Step Five
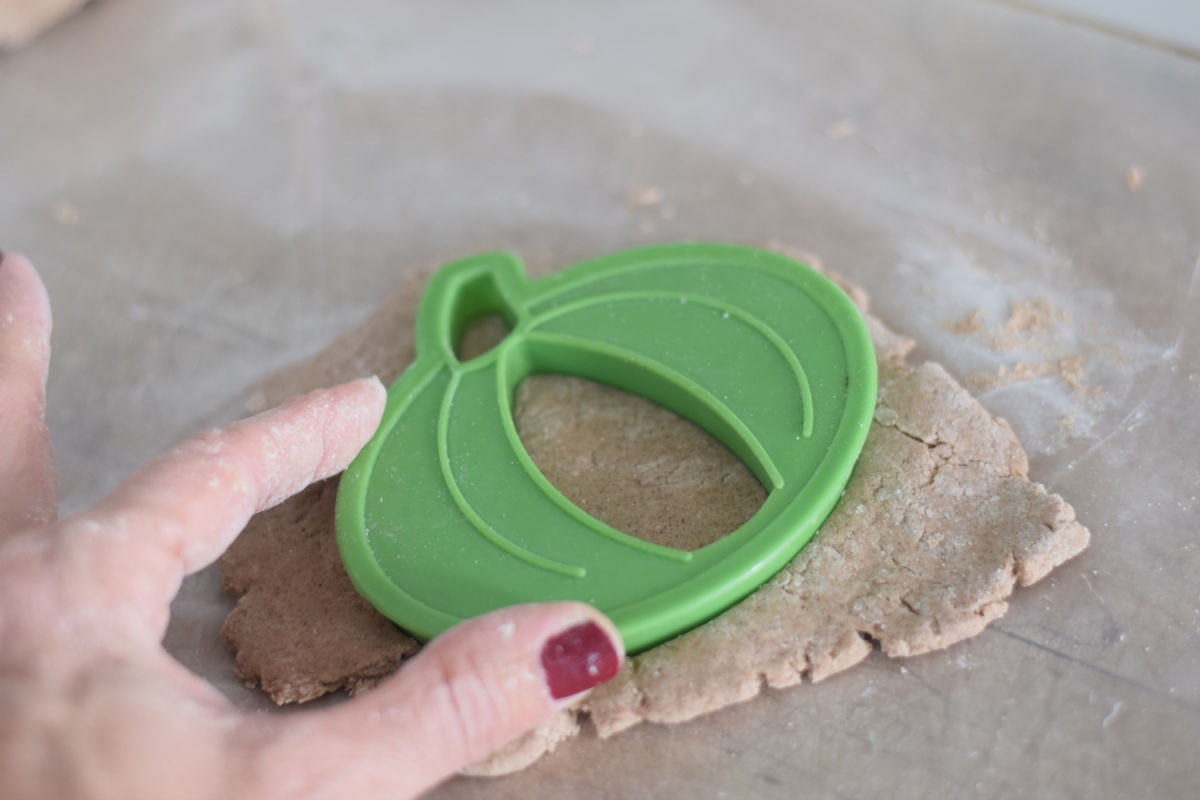
Shape the dough with cookie cutters.
Step Six
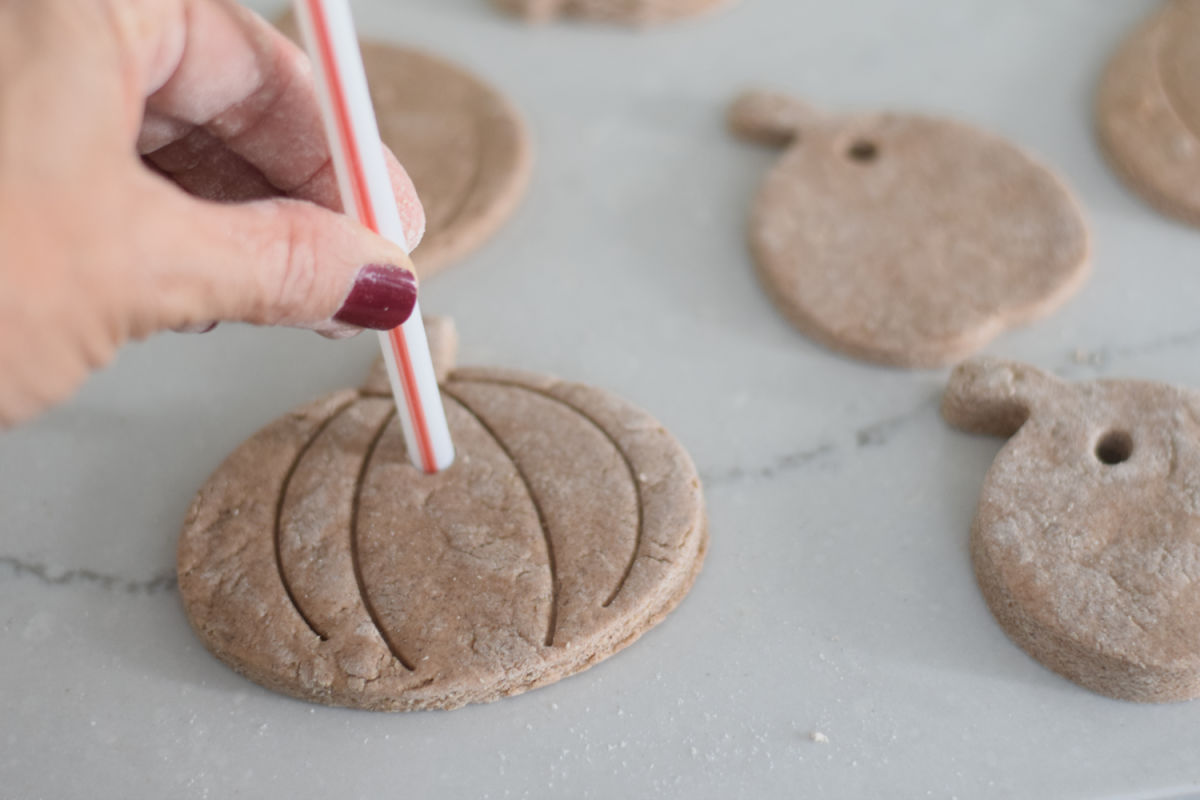
Don’t forget to insert a straw into the shape to create a hole for hanging
Step Seven
This will be the hole you’ll use for hanging the ornaments
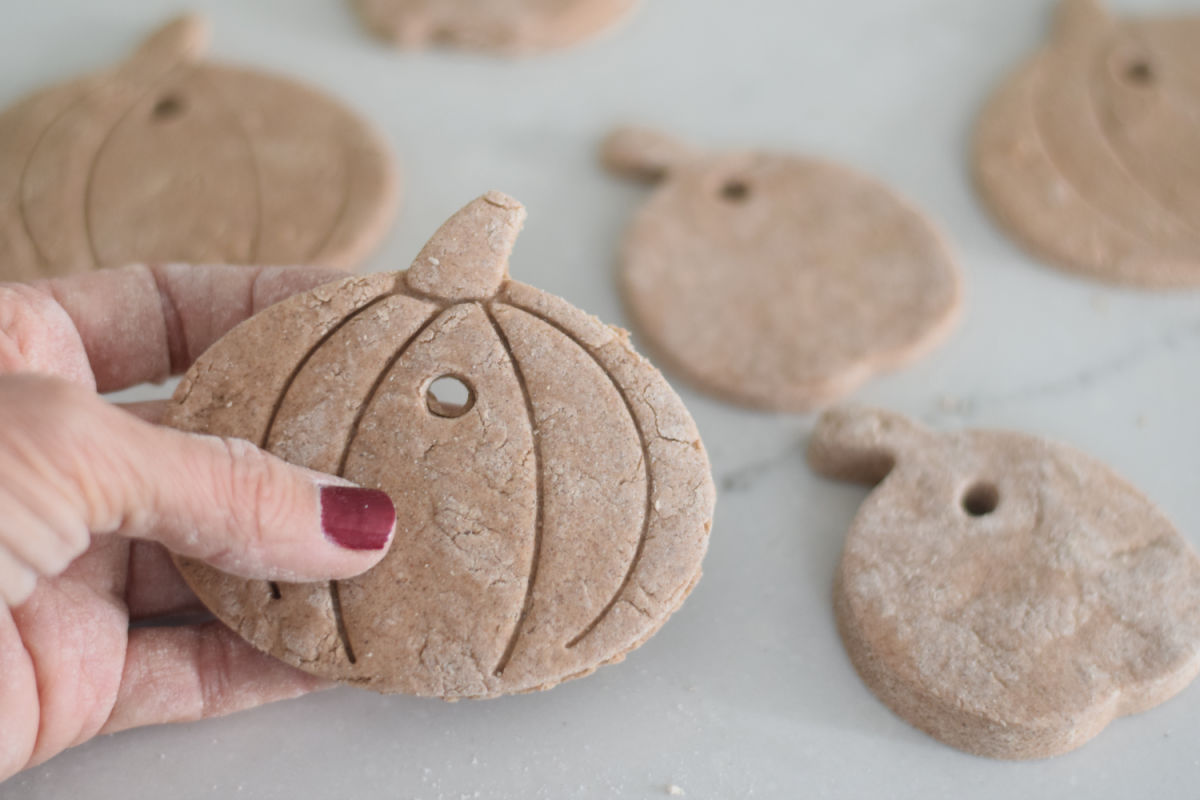
You can let them air dry for 1-5 days. But, to speed up the process, bake them on a cookie sheet at 200 degrees for 3 hours
Decorating
Use markers, paint pens, or chalk markers to write what you are thankful for.
Pro Tips
Remember to write the date down on the back of the ornaments so you can look back on the memories each year.
Storage
These can be saved in an airtight container.
I’ve had mine for about ten years now. I love looking through the older ones to see what the kids were thankful for. We add new ones each year.
Yield
This recipe yielded nine to twelve ornaments for our tree.
Making a Thankful Tree
In years past, I have collected branches from our yard and placed them in a tall container
This year, however, I found a pre-lit battery operated fall tree at Michael’s Craft Store that I think I think I’ll use from now on
More Thanksgiving Crafts You’ll Love
Cinnamon Salt Dough Recipe Printable
Salt Dough Recipe for Thankful Tree Ornaments
Equipment
- 1 straw
Materials
- once cup flour
- ¼ cup + 2 Tbsp. salt
- ¼ cup + 1 Tbsp. water hot tap water you may need to add more if the dough is too dry.
- 1 Tbsp. ground cinnamon
- food coloring optional
Instructions
- Combine flour and salt.
- Add hot water and optional food coloring.
- Without food coloring, the dough will turn a nice brown color with bits of cinnamon throughout. The images in this post do not have food coloring.
- Knead for 5 minutes on a floured board.
- Roll the dough out like play dough, and shape the dough with cookie cutters.
- Don't forget to insert a straw into the shape to create a hole for hanging
- You can let them air dry for 1-5 days. If you don't have a cooling rack for cookies, you'll need to flip them over periodically to allow the bottoms to dry out.
- To speed up the process, bake them on a cookie sheet at 200 degrees for 3 hours
~Melissa
KidFriendlyThingsToDo.Com





Love this!